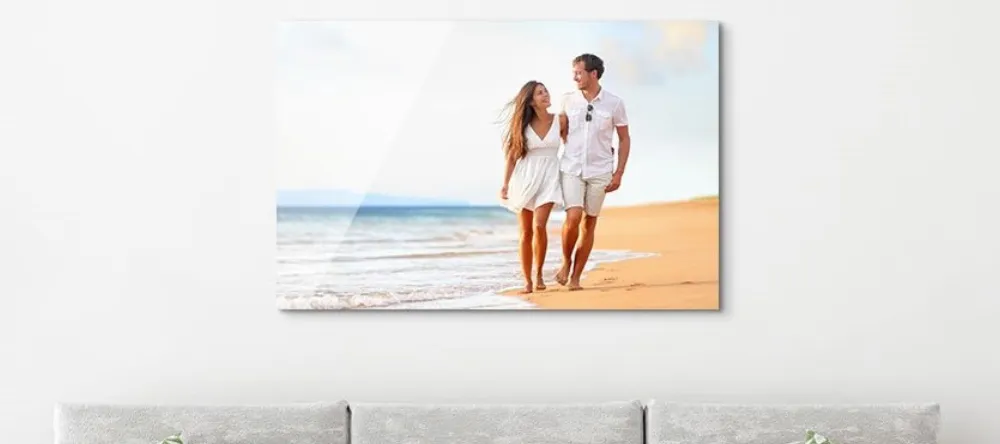
How to Hang Metal Prints – A Simple Guide
Figuring out how to hang metal prints shouldn’t be a headache. So to make it easy for you, we’ve prepared this little guide.
We recommend two simple, robust, and reliable hanging methods – the hanger plate and the aluminum backframe. And the good news is, both of them can be added to your CANVASDISCOUNT metal print order as accessories.
We give full instructions for using both hangers further down this page.
And in this article we’ll also list some installation methods that you definitely shouldn’t use for a metal print.

In this Article:
-
What you definitely shouldn’t do
-
Our recommended solutions
-
How to hang metal prints (hanger plate)
-
How to hang metal prints (aluminum backframe)
-
Final word
Things to Avoid When Hanging Your Metal Prints
There are various suggestions out there for hanging metal prints, so let’s begin by listing some methods you should definitely avoid.
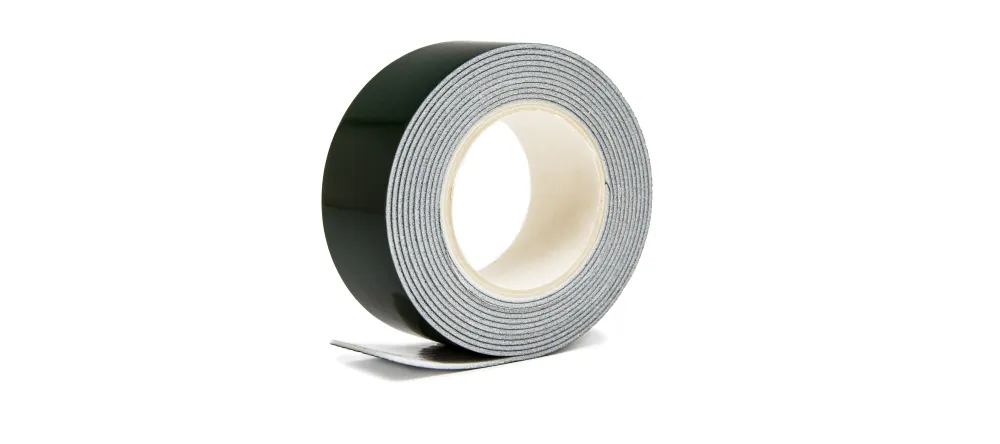
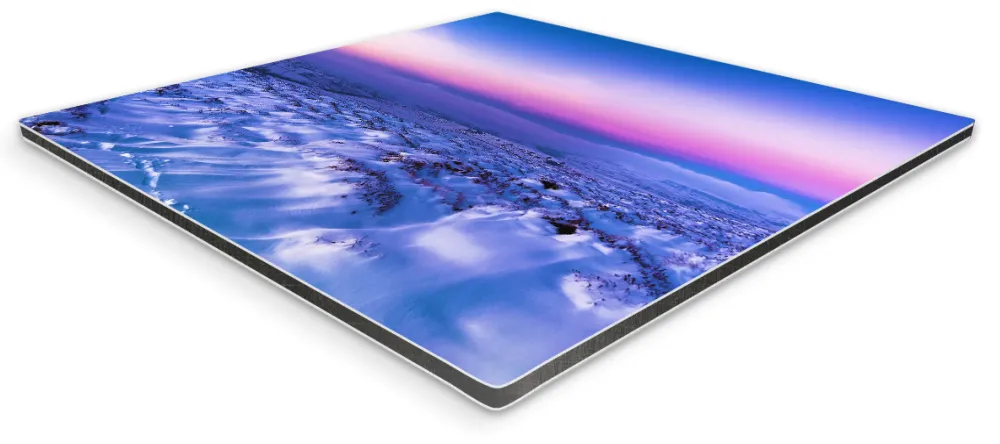
Firstly, don’t rely on household adhesives alone. The metal prints sold today by innovative providers like CANVASDISCOUNT are remarkably light, but of course any wall art feature that’s made from metal is going to have some weight to it. So double-sided tape or sticky putty won’t be enough to support your metal print securely.
We’d also strongly discourage you from drilling through the metal composite panel in order to screw it in place, as this will compromise the sleek borderless design of the product. You could even compromise the structural integrity of your print.
Our Recommended Hanging Solutions
You’ll get the best results if you choose a hanging method that was developed especially for the print you’re buying. And here at CANVASDISCOUNT, we offer precisely that! In fact, we offer two methods – a choice of two custom-designed hangers that can be added to your order for a modest extra cost.

These hanging solutions are the hanger plate and the aluminum backframe.
Both are simple, effective, and highly robust pieces of kit that make installation simple. Once your print’s on the wall, you can relax and forget all about them. Which is particularly easy to do, because both methods stay modestly tucked away out of sight, letting your photo on metal take all the limelight.
Hanger Plate or Aluminum Backframe – Which to Choose?
Which of our hanging solutions you should choose depends mainly on the size of metal print you’re ordering.
The aluminum backframe is larger, stronger, and heavier than the hanger plate. And we take this into account when you place your order, offering you only the backframe for large prints and only the hanger plate for small ones. With medium-sized prints you get a choice of either hanging solution.
See below for the full details:
-
Formats up to and including 16” x 20” will see only the hanger plate offered.
-
Formats from 20” x 24” to 20” x 30” will see a choice of either the hanger plate or the aluminum backframe offered.
-
Formats of 30” x 30” and up will see only the aluminum backframe offered.

If you want to add a hanging solution to your order, you can do so when you reach the product design page (you’re taken here immediately after you upload your photo).
How to Hang Metal Prints (Using the Hanger Plate)
Using the aluminum hanger plate is as straightforward as it gets. Designed for hanging small and medium formats, the hanger plate is a simple, ingenious solution for displaying your metal wall art feature.

Just follow these simple instructions and your print should hold fast to almost any wall.
-
Clean the back of your print. Rub the area where the hanger plate will go (we recommend top-center) with fine sandpaper. Then clean the area with a microfiber cloth dampened with rubbing alcohol. Leave to dry.
-
Position the hanger plate. Without removing the anti-adhesive paper from the hanger plate, place it on the back of your print and adjust the position until you’re happy. Then trace the outline of the hanger using a pencil.
-
Remove the anti-adhesive paper. Peel the anti-adhesive layer off the hanger plate. Make sure there’s no dirt on the back of your print, then press the plate firmly into your chosen position.
-
Leave adhesive to set. Leave your print on a flat surface to allow the adhesive to harden. We recommend waiting 24 hours or so.
-
Attach rubber bumpers. Attach the two adhesive bumpers (included with your kit) to the back of your print, one near each bottom corner. They’ll protect your wall from scrape damage, and also hold your print in a vertical position.
-
Hang your print. Attach a screw or hook to the wall, then rest the ridge at the back of the hanger plate on the screw/hook to support your print. And that’s it – you’re all done.
How to Hang Metal Prints (Using the Aluminum Backframe)
A heavier-duty alternative to the hanger plate, the aluminum backframe is recommended for medium and large formats. Like the hanger plate, it stays hidden out of sight once your print’s on the wall.

Here at CANVASDISCOUNT we like to make things simple for our customers. So if you buy your metal print from us, and you add the backframe to your order, it will arrive already attached to your print! So it’s just a couple of steps from there to getting your new decor feature on the wall.
-
Add the backframe to your order. This can be done on the product design page, just after you upload your photo. Your metal print will arrive with the frame attached.
-
Attach screws or French cleat to wall. Either attach a pair of screws to your wall or attach a French cleat using screws. Note that the pair of the screws or the French cleat will need to fit inside the open section of the upper bar of your backframe – so don’t place the screws too far apart, or choose a cleat that’s too wide.
-
Mount your print. Finally, mount your metal print by resting the top bar of the backframe on the screws or cleat. That’s it!
Interesting fact: The aluminum backframe has an additional benefit – namely, that it adds an extra layer of resistance to environmental pressures such as thermal stress, reducing the chance of your print starting to curve to virtually nil.
Final Word
Before you proceed with the mounting process, bear in mind that metal prints are at the heavier end of our product range.
That means the stability of your fixtures is key, so we strongly recommend using anchors with any screws you attach to the wall.
We also recommend using a stud detector to locate the most resilient areas of your wall.
Otherwise, just follow the steps above and you should be able to enjoy your metal print for decades to come.
But the first step of all, of course, is to actually order your metal print! So if you haven’t yet done so, upload your photo here at CANVASDISCOUNT right now.