How to Make a Gallery Wall: In 6 Easy Steps
Wondering how to make a gallery wall? Use this easy step-by-step guide and create a unique wall art display using your own photos!
Do you have a drab wall in your home that needs sprucing up? One failsafe decoration idea is a gallery wall – a collection of photos, paintings and found objects covering a whole section of wall.
A well-conceived gallery wall does more than just fill space – it tells a story and brings a bit of your personality into the character of a room. And with the great range of custom photo prints available at CanvasDiscount.com, you can use photos from your own digital archives to really make your story come to life!
To create a gallery wall that truly works, you need a bit of thought and preparation. So to make things easier, our photo printing experts have prepared this 5-minute guide. We’ll talk you through every stage of the process and share the best tips and tricks for creating a head-turning DIY wall art display.
Here’s what you’ll need:
Elements:
-
Old framed photos
-
Paintings
-
Digital photos to print
-
Bric-a-brac
-
Found objects
Installation:
-
Drill
-
Nails
-
Pencil
-
Old newspapers
-
Scissors
-
Tape
OK, let’s dive right in and learn how to make a gallery wall worthy of a seasoned interior designer!
How to Make a Gallery Wall: Instructions in Brief
In short, to create a gallery wall, start by selecting the art pieces and arranging them on the floor to finalize the layout. Tape the outlines of each piece on the wall to visualize the arrangement before making holes. Finally, hang up the art pieces and secure them on the wall.
Here are more detailed instructions:
-
Select a unified theme. Your gallery wall could be dedicated to a specific event, or you could go more abstract – let your creativity run free!
-
Prepare the prints. Upload the photos you want to display to CanvasDiscount.com and order your new wall decor products.
-
Find the best location. Don’t feel limited to large bare spaces, as gallery walls can work great in just about any free spot!
-
Test out different arrangements. Feel free to combine pictures with any quirky objects that work for you.
-
Use paper templates to organize the arrangement on the wall. Make templates the same shape as your prints/other features, stick them to the wall with putty/masking tape, then reposition them until you’re happy.
-
Prepare for the final steps. Draw outlines of the templates in pencil, then replace the templates with your gallery wall features and secure them in place.
So there you have it! A simple introduction to creating your very own gallery wall.
But we’ve got plenty more tips and tricks to share with you, so if you’ve got the time, we do recommend reading through the individual steps in more detail below…
1. Choose a Theme
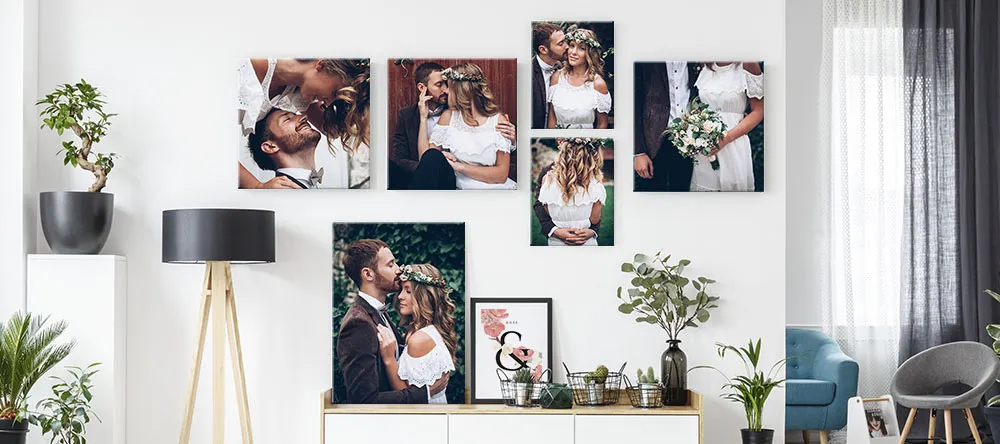
Every picture tells a story – and a great gallery wall can give a real insight into your family life. For the best results, select elements that follow a certain theme: family travels, vacations, memorable places, nature, professional achievements etc.
When you’ve decided, look for elements that have a connection to your theme. It doesn’t pay to be too literal here – sometimes the link can be quite tangential! Just follow your instincts, and of course don’t choose anything that you wouldn’t want to look at every day.
You can scour your own storage for pictures, trinkets and curios, but you’ll also be able to pick things up for a song at flea markets and garage sales. And don’t forget found objects that you can claim for free out on the street or in nature.
2. Select Photos to Print

Take your time looking through your digital archives for photos to print – most of us have pretty big libraries these days, so you should be able to find some fantastic images that suit the theme of your gallery wall.
Don’t be afraid to mix up different genres – portraits, landscapes, abstract photography. It’s also a good idea to pick shots from a range of time periods – carefully chosen older images can make a striking complement to your more recent captures.
When you’ve chosen, head to CanvasDiscount.com and upload your digital photos. Our selection of wall art products ranges from gleaming contemporary designs to more traditional options like prints on canvas or wood – so you’re sure to find something that fits your gallery wall aesthetic. We’ll get your new prints delivered in a matter of days.
3. Choose Your Wall Space
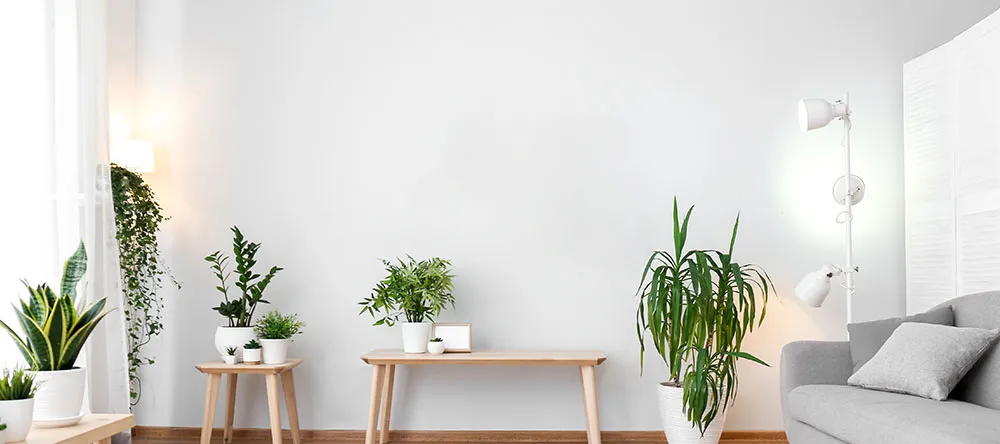
You don’t need a huge room to create a gallery wall. On the contrary, the impact can be even greater in a somewhat confined space.
And the wall you choose needn’t be bare from floor to ceiling. Gallery walls can work just as well above headboards and chests of drawers, or around fireplaces. They can also be very effective arranged up flights of stairs.
But you need to make sure your gallery wall isn’t exposed to excessive moisture and heat – so avoid hanging any pictures above radiators or in rooms with high humidity levels.
4. Experiment with the Layout
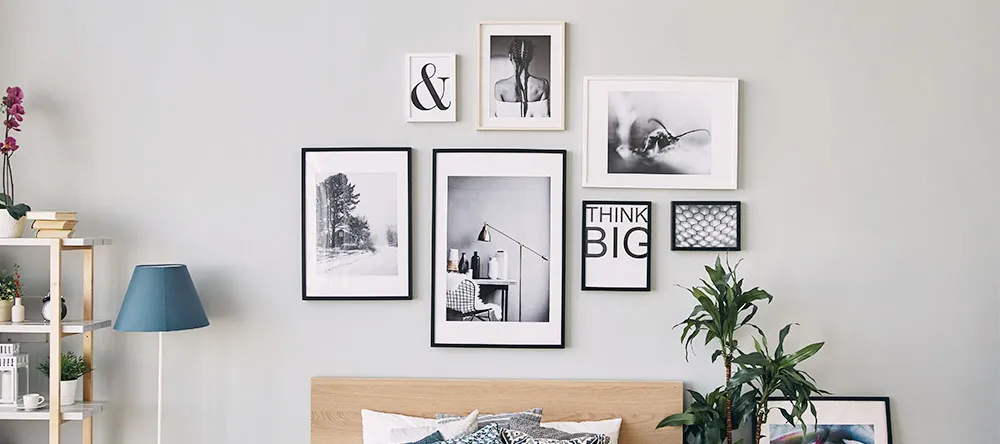
The beauty of a gallery wall lies in its unique composition – you can hang your elements in neat rows or go for a striking asymmetrical composition.
We recommend using some anchor points – a handful of larger pictures that will serve as a foundation for the whole display. Then you can experiment with smaller elements – they can either fill in the gaps around your anchor points to create an ordered rectangular design, or drift away from them in daringly irregular patterns.
Lay out your elements on the floor or a large bed to see how the different layouts look. You may want to take a photo of each possible layout to make the final choice easier.
5. Mark Out the Positions
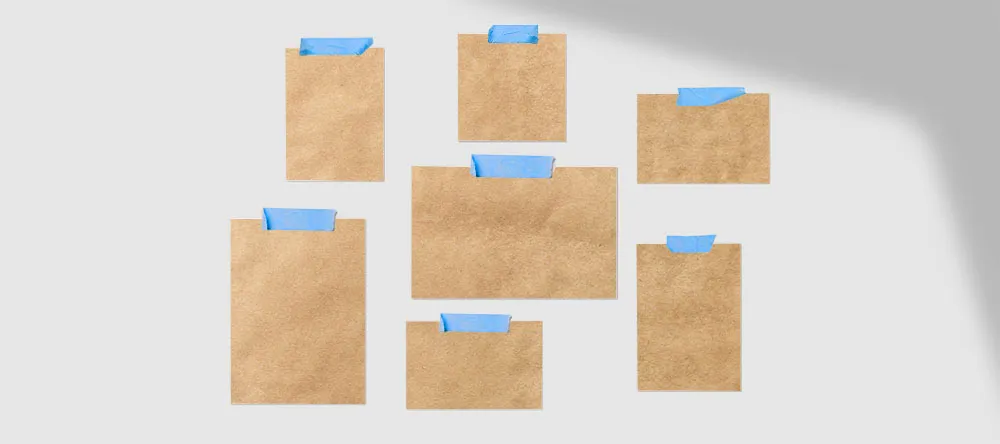
Now we reveal why we included old newspapers in the must-have list! They come in handy when it’s time to transfer your layout to the wall. Cut out paper templates in the size and shape of your pictures/objects and stick them on the wall using the tape. If you’re happy with the layout, take a pencil and lightly outline each template before removing it from the wall.
It’s still not too late to rearrange your elements. You may even want to leave your layout on the wall overnight to look at it with fresh eyes in the morning!
6. Hang Your Pictures on the Wall
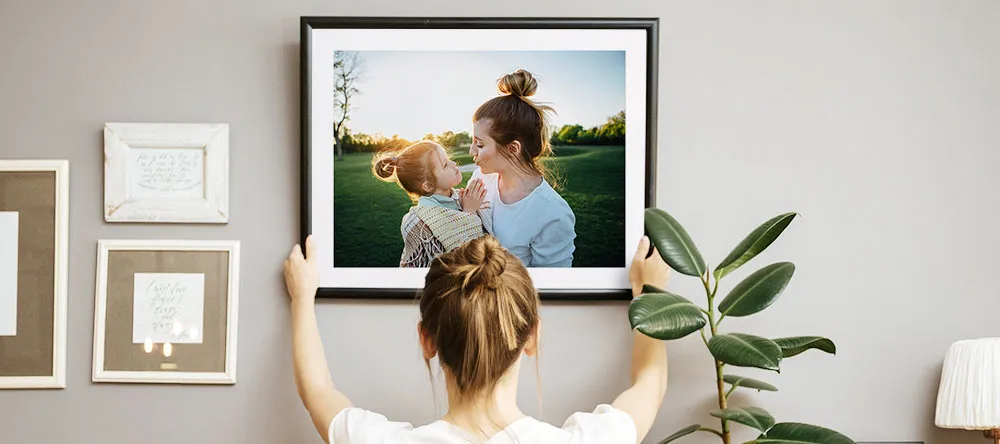
Choose the appropriate hanging method depending on the size and shape of each element. When it comes to your photo prints, the best methods depend on the print products you chose. Posters and MIXPIX® photo tiles can be fixed securely on the wall without nails. But heavier items such as canvas prints, metal prints and framed photos will need at least a couple of nails, and you might need to get the drill out.
If you’re not a confident DIY-er, it’s always worth thinking about hiring a professional to install heavy design elements – the peace of mind alone can make it good value for money!
Our Final Word on How to Make a Gallery Wall
Done right, a gallery wall can add real character to any room. So once you’ve followed our easy step-by-step tutorial and your gallery wall is ready, stand back and admire your work – we’re sure you’ll agree!
And one of the best things about gallery walls is their versatility – you can always add to your composition, change pictures around, or remove ones you no longer want to display.
With so many great printing options available at CanvasDiscount.com, why not start designing your gallery wall now?