How to Frame Canvas Prints
How to Frame a Canvas: Complete Guide to DIY and Professional Options
You've got a beautiful canvas—now what? Whether it's a cherished painting or a beautiful print, framing your canvas can take it from “yeah, nice piece” to “wow, where did you get that?!” But here's the thing: framing a canvas isn't quite the same as framing a regular photo, and choosing the wrong approach can leave you frustrated (and your artwork looking less than stellar).
Let's walk through everything you need to know to frame your canvas like a pro, whether you're set on going the DIY route or you need help deciding if it's worth hiring someone else to do it.
Why Should You Frame Your Canvas?
Good question—especially if your canvas already looks pretty great on its own. Framing serves two key purposes that make it worth the effort:
- Preserving your canvas. Canvas edges are vulnerable to dings, moisture, and warping over time. A quality frame acts like armor for your artwork, helping it stay beautiful for years to come.
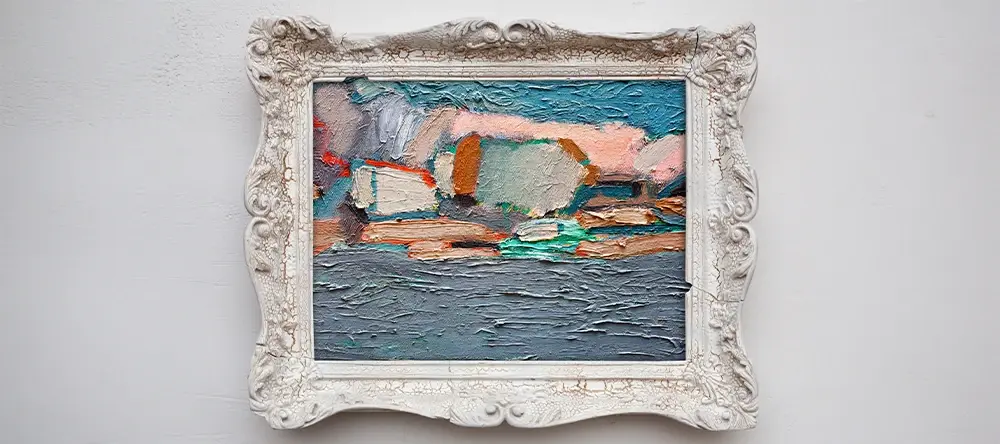
- Presentation. Unframed, even the most beautiful canvas can look like it isn't quite finished. A frame can be the difference between a piece that just fills a spot on the wall and one that really makes an impact.
Know Your Canvas Before You Start
Not all canvases are created equal, and the type you're working with will determine your framing approach:
- Unmounted canvas. This is canvas which isn’t yet attached to any frame or backing. (Unmounted canvas is often called rolled canvas—simply because it’s usually transported while rolled up.) You’ll need to mount an unmounted canvas on a backing of some kind before it can be framed.
- Gallery-wrapped canvas. This is the canvas print that most people would imagine—with the fabric pulled taut over wooden stretcher bars and attached at the back. In some cases, part of the print/painting appears on the sides of the frame—so you’ll need a framing method that won’t cover this up.
- Canvas panels. This is canvas attached to a hard backing (e.g. masonite) using an adhesive. Canvas panels tend to be thinner than gallery-wrapped canvas (usually less than ½ inch thick).
Whether your picture is gallery-wrapped or a canvas panel, it’s worth grabbing a ruler to measure your canvas thickness, as this will be important in picking the right frame depth.
How to Frame Canvas Artwork: Choosing Your Frame
Walk into any frame shop and you'll face dozens of options. Here's how to cut through the confusion and pick something that actually works for your canvas:
- Floating frames, also called “shadow-gap frames,” are a great solution for gallery-wrapped canvas prints, especially those which have image detail on the sides of the frame. A gap is left between the canvas-wrapped stretcher bars and the outer frame, so both the front and the sides of your canvas remain visible.
- Deep picture frames are great for canvas panels, but make sure that the groove in the frame (called a rabbet) is deeper than the thickness of your canvas. Always leave yourself some space. If your canvas is exactly ¾ inch thick, look for frames that are at least ⅞ inch deep.
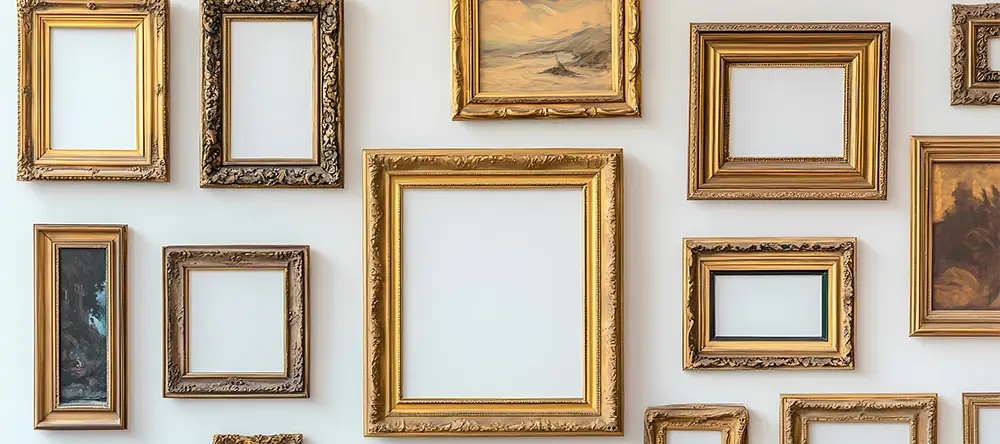
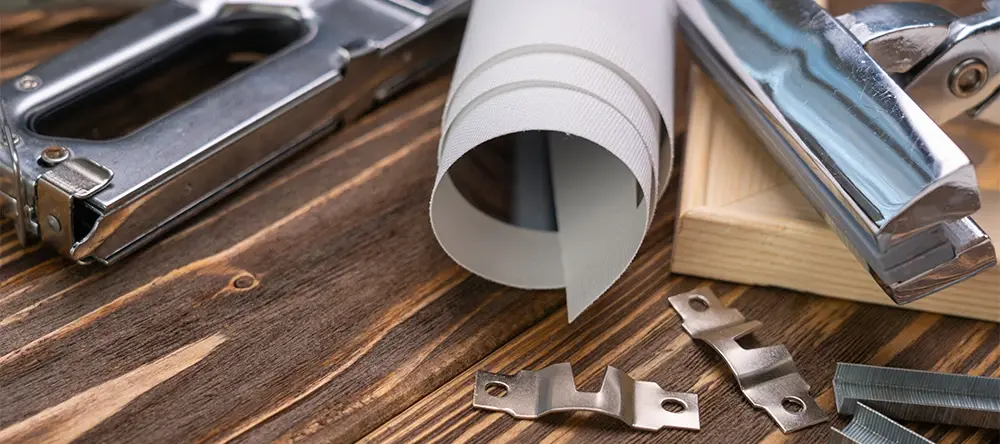
- You can also get creative and use standard picture frames. Take off the glass and backing, then use small brackets or clips to hold your canvas in place. This approach works especially well with vintage frames that have character you can't buy new.
- And if you’re looking for a simpler solution, consider framed photo prints. These come ready to hang, combining your favorite photo with a perfectly matched frame, so you can skip the guesswork and enjoy a polished display right away.
Tools and Materials You Really Need for DIY Framing
Forget the specialty tools that cost a fortune and get used once. To get consistent results, you really need:
For measuring and cutting:
- Metal ruler (more accurate than tape measures).
- For clean 45° corners, use a miter saw or miter box with a hand saw.
- Pencil to mark cuts.
For assembly:
- Wood glue and finishing nails or brad nails.
- Corner clamps (makes everything so much easier).
- A basic drill and some bits.
For finishing:
- Sandpaper and wood filler.
- Wood conditioner, stain, or paint of your choice.
- Brush or cloth for applying finish.
To mount, you can use:
- Offset clips or small L‑brackets.
- D‑rings and picture wire for hanging.
- Short screws (be careful not to puncture the front!).
Most of this lives at your local hardware store, and many will even cut lumber to your measurements if you don't have a saw.
How to Make a Frame for a Canvas
Method 1: Make Your Own Wooden Frame
This approach works beautifully for stretched canvases and gives you exactly what you want instead of settling for “close enough.”
- Start with accurate measurements. Measure your canvas and add ⅛ inch to each side for breathing room.
- Cut four pieces of wood at 45° angles. For a 20×40 inch canvas, you'd cut two pieces at 20¼ inches and two at 40¼ inches, measuring from the long side of the angle.
- Apply wood glue to each corner, clamp everything together, and secure with finishing nails. Work with two corners at a time if you're dealing with a larger frame that wants to slide around.
- Add support strips inside each corner. These thin pieces (about ¼ inch thick) give you something solid to screw into later. Position them flush with the frame's back edge.
- Put wood filler in the nail holes, sand everything down, and then paint or stain it the way you want. Don't rush this part; it's the first thing people see.
- Mount your canvas by dropping it into place and driving short screws through those support strips into the wooden stretcher bars. Don't overtighten; wood moves with humidity changes.
Method 2: The Offset Clip Shortcut
If you've found a pre-made frame that fits your canvas, offset clips can save you a lot of time and still make it look like a pro did it.
- Position your canvas dead center in the frame opening. Take your time here; uneven gaps look bad and take away from your art.
- Choose the right clips by measuring the exact distance between your canvas edge and the frame interior. The clips need to bridge this gap perfectly.
- Install carefully, screwing clips into the frame and, if necessary, into the stretcher bars. Use screws that are the right size for the material of your frame. If they are too big, they will split the wood, and if they are too small, they will pull out under weight.
This method shines when you want that floating look without the custom building time investment.
Method 3: Adapting Regular Picture Frames
Thrift stores and estate sales hide amazing frames that cost pennies compared to new ones. Converting them takes a bit of creativity but creates unique results.
- Take out everything from the frame, including the glass, backing, and all the mounting hardware.
- Deal with size differences using cardboard shims or wooden strips to fill gaps between your canvas and the frame interior.
- Secure with small brackets or clips positioned where they won't show—usually along the back edges or interior sides of the frame.
The character of vintage frames often complements artwork in ways that mass-produced frames simply can't match.
How to Prepare Unmounted Canvas for Framing
Unmounted canvas gives you complete control but requires extra steps before framing can begin. You'll need to choose between the gallery‑wrap and canvas panel techniques.
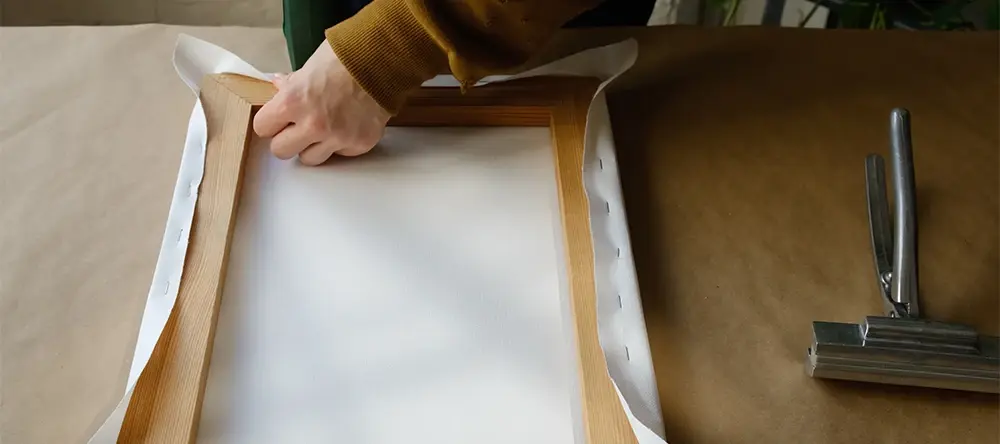
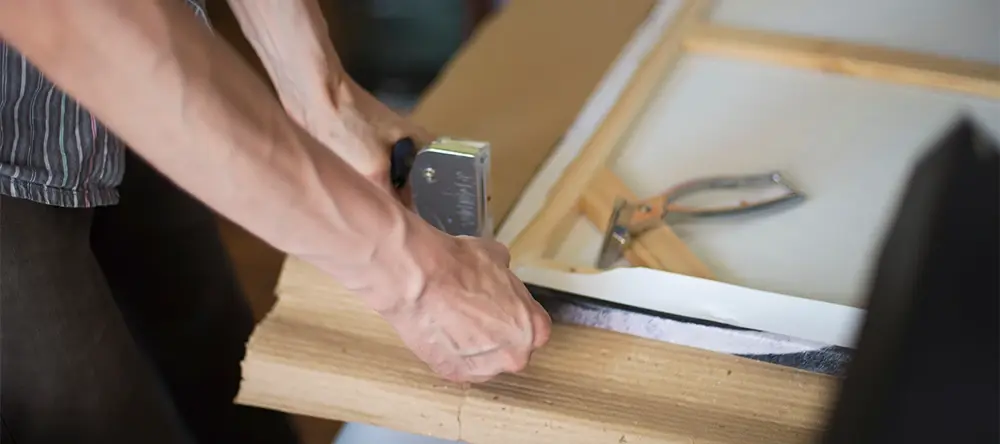
Gallery wrap. Assemble wooden stretcher bars into a rectangle, then wrap the canvas around the edges and staple it down at the back. Work from the center of each side outward, keeping tension even across the whole surface. The canvas should feel solid but not too tight, like a drum.
Canvas panel. Mounting your canvas on a board achieves perfectly flat results ideal for detailed work. Use good foam board with acid-free glue, place your canvas carefully to avoid bubbles, and then use a roller to smooth it out.
Either approach produces results ready for any of the framing methods above. And if you’d like to skip the DIY steps, you can opt for a Canvas Wall Display—a pre-arranged set of canvases designed to create a striking gallery look on your wall without the hassle of measuring or alignment.
When to Get Help from a Professional
Even if you know how to do it yourself, it sometimes makes sense to pay the extra money and hire a pro.
- Valuable artwork deserves professional handling, regardless of your confidence level. Framers carry insurance and use archival materials designed to preserve artwork for decades.
- Family photos, wedding photos, and memorial art are all one-of-a-kind items that need the extra care and skill that professionals can give them.
Professional experience and access to specialized materials can help with complicated projects that have unusual sizes, multiple parts, or special needs.
Sometimes, the extra cost of professional services is worth it because of time limits, especially when you have to learn new things quickly.
Tips from Pros for Results That Last
- Your frame style should match your artwork. Simple, clean frames go well with modern art, while ornate frames go well with classical art. When in doubt, let the artwork guide your choice.
- Use quality materials. It might cost a little more to use acid‑free mounting materials and archival adhesives, but they keep things from deteriorating over time.
- Don't rush when you take measurements and make cuts. A square, well-fitted frame makes all the difference between amateur and professional-looking results.
- Add the final touches, like felt bumpers on the back corners, to protect your walls and allow better airflow behind the art.
- Choose hanging hardware rated for your frame's weight, and position hanging points about one-third down from the frame top for optimal balance.
Putting It All Together
You don't have to spend a lot of money to frame your canvas. You can make custom frames that showcase your art beautifully and fit your space perfectly with the right tools and a little know-how.
To get better at something, start with easier projects and work your way up to more challenging ones as you gain experience. The most important thing is to know what kind of canvas you have, pick the right methods, and pay attention to the little details that separate good work from great results.
If you're ready to upgrade your interior and showcase your favorite memories, our photo wall decor at CANVASDISCOUNT makes it easy to turn any photo into unique wall art.
FAQs About Framing Canvas
-
Measure the width, height, and depth of your canvas with a ruler. Add about 1⁄8 inch (3–4 mm) to each dimension so the canvas fits comfortably inside the frame, and note the thickness when choosing your frame depth.
-
Floating frames — also called shadow‑gap frames — are ideal for gallery‑wrapped canvases. They leave a small gap between the canvas and the frame so the edges remain visible. Offset‑clip frames on pre‑made frames can achieve a similar look.
-
Yes. Remove the glass and backing from a picture frame, use cardboard or wooden shims to fill any gaps, and secure the canvas with small clips or brackets. This works especially well for thinner canvas panels or gallery‑wrapped canvases.
-
Professional framers are a good choice for valuable or sentimental artwork and for projects with unusual sizes, multiple pieces, or tight deadlines. They use archival materials and have the experience to preserve and present your canvas at its best.