How to Hang a Canvas Without Any Fuss
Wondering exactly how to hang your canvas prints? You’re not the only one who isn’t sure. Hanging a canvas is actually a straightforward operation, but it’s always best to read a dependable how-to guide before you get started.
Let's get into the method of hanging your canvas prints, step by step.
Contents in Brief:
- What You Should Know Before Hanging Your Canvas Print
- Tools You’ll Need to Hang Your Canvas Print
- Hanging Small-Format Canvas Prints
- Hanging Large-Format Canvas Prints
Before You Start
Wouldn’t it make life simpler if you could order a simple-to-use canvas hanging kit online for just a few dollars?
You can! Order your canvas from CanvasDiscount.com and you can simply add our hanger set to any canvas print order in the shopping cart.
Our hanger set can be used for two different methods of hanging your prints. You just need to choose the method that’s right for the size format of your print.
Instructions in Brief:
-
Position sawtooth hanger on wooden frame (top middle)
-
Secure sawtooth hanger with screws
-
Insert pair of nails into wall (short distance apart)
-
Place sawtooth hanger on pair of nails to hang canvas
This guide will explain both hanging methods. The first is recommended only for smaller canvas prints (no larger than 16” x 24”), while the second can be used for any of the formats sold at our shop.
Tools You’ll Need
- Canvas Hanger Set
- Pencil
- Level
- Cross Screwdriver
- Hammer
How to Hang Your Canvas Print (Small Format)

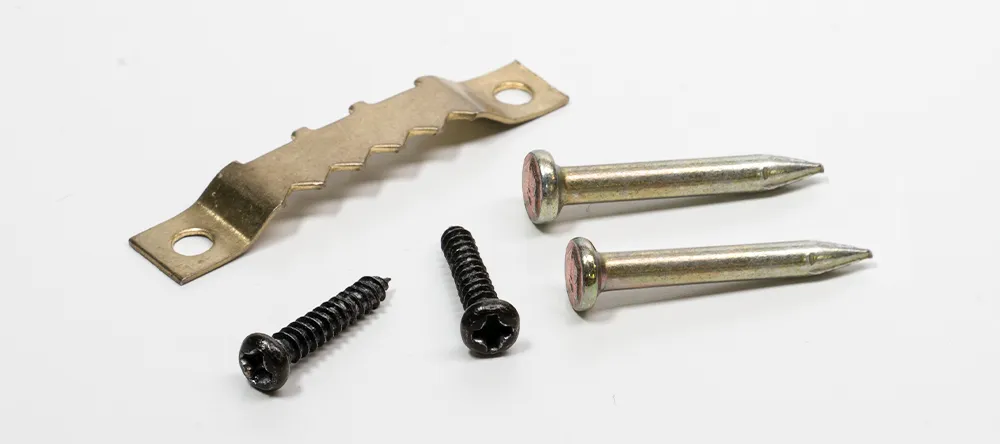
Note that the hanger set from CanvasDiscount.com includes all the parts needed for both hanging methods and you won’t need all of them to hang a small-format canvas print successfully. The parts you’ll need for a small print are as follows:
- The pair of nails with the red attachments
- The 2 slightly longer black screws
- The sawtooth hanger (serrated metal bar)
Step No. 1
Using the pencil, mark on the wall two guide points for the nails. The two nails will support the sawtooth hanger – so the distance they sit apart from each other should match the distance between the first and last notches of the sawtooth hanger

Make sure the two marks are on an even plane so that your canvas doesn’t hang askew – use the level to help with this. Once you’re happy that the guide points are in the right position, hammer in the nails.
Step No. 2
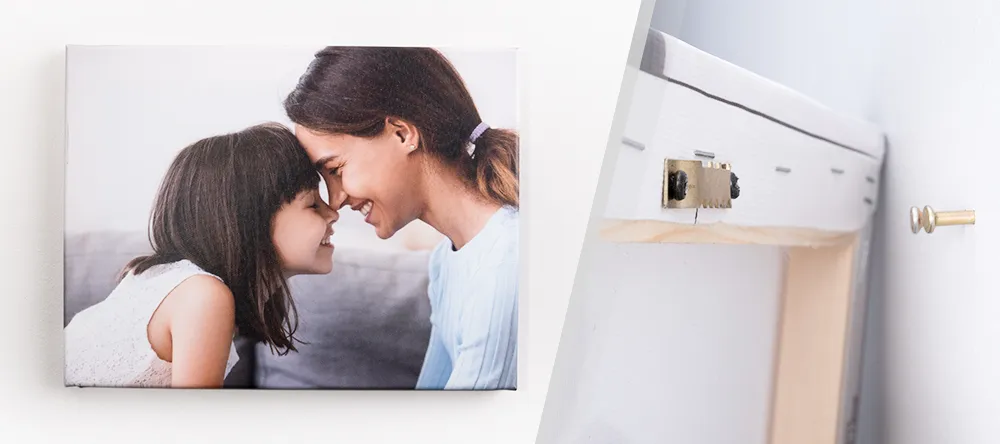
Using the two long black screws, attach the sawtooth hanger to the top stretcher bar at the back of your canvas print. The hanger should be attached on a level plane and with the serrated edge facing downwards.

Step No. 3
Suspend your canvas by simply resting the sawtooth hanger on the heads of the nails. And that’s that, your small-format canvas print is ready for display!
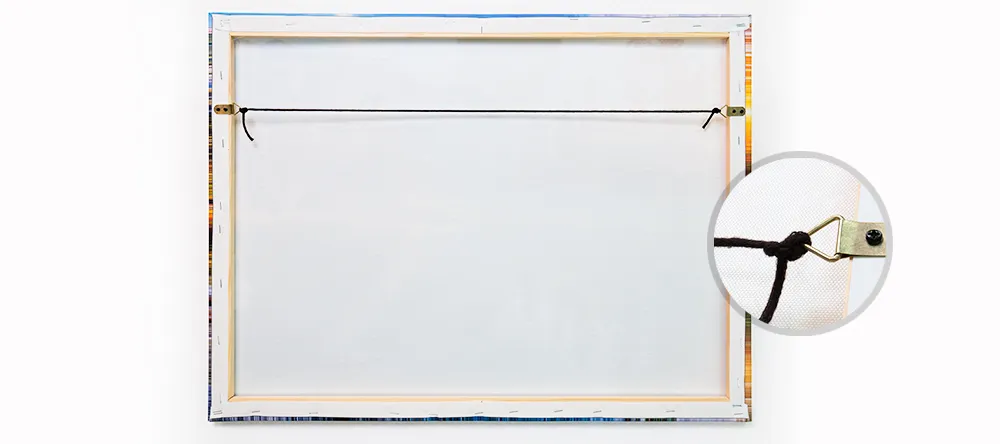
How to Hang Your Canvas Print (Large Format)

The second method, recommended for larger-format canvas prints, isn’t quite as super simple as the first – but it still shouldn’t cause you any trouble.
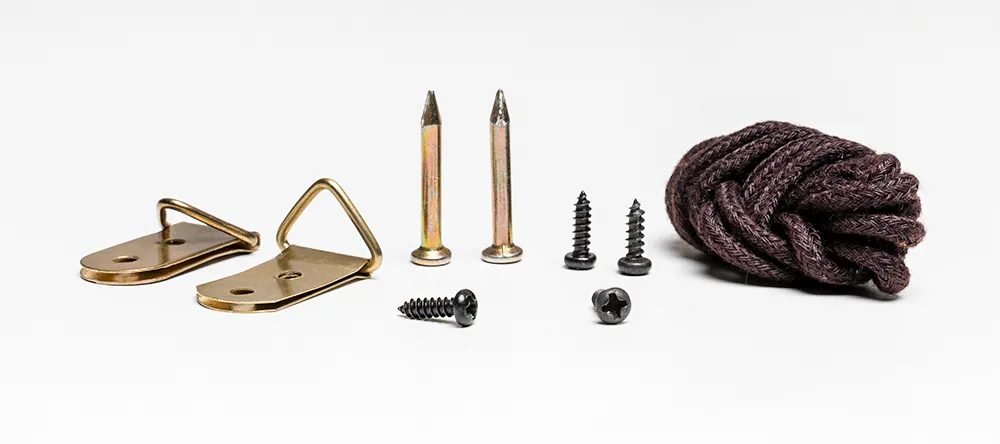
- The cord
- The picture hooks (a.k.a. triangular D-rings)
- The 4 slightly shorter black screws
- The pair of nails
Step No.1
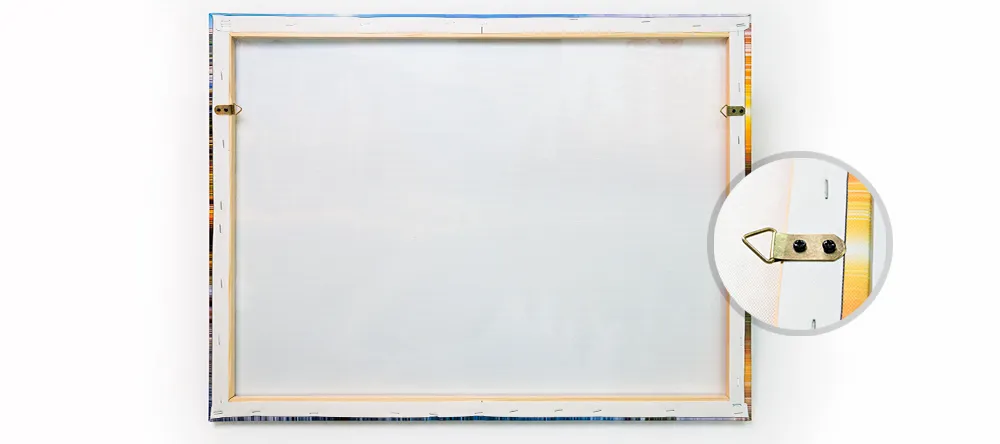
Using the four shorter screws, secure the picture hooks to the side stretcher bars of the canvas, so that each “D” of the D-rings is pointing inward towards the other. We recommend doing a bit of measuring first to make sure the D-rings are level with each other. Ideally they should be attached slightly above the midpoint of the bars.
Step No.2
Take the cord and thread it through each D-ring, pull it taut and then tie a knot at each end to fasten it. Cut off any spare length.
Step No.3
Mark two points in pencil on the wall where the nails will go, making sure they’re level with each other. When you’re ready, hammer in the nails. They shouldn’t stick out of the wall further than the depth of the canvas frame, so make sure you get them deep enough.

Step No.4
Hang your canvas by simply resting the length of cord on the nails. Done!

Yes, it really is as simple as that! So now you’re all primed to get going, all we can do is wish you luck. Unless, that is, you haven’t ordered your canvas print yet – in which case you can go ahead and upload your photo right now!