How To Make a Photo Book Online
If you want to make a photo book without leaving the comfort of your home, our straightforward guide will explain how.
Only our most special pictures tend to make it to print these days – so if you’re turning your precious memories into photos, you’ll want a special print format too.
Why not choose a custom photo book? It’s a great way to tell your story with photos and celebrate the most significant moments and events of your life. You can create a fully customized photo book online and design every page according to your taste.
In this article, CANVASDISCOUNT will talk you through every step of the process. Your photo album will be a beautiful memento to keep for yourself, or a touching gift for loved ones.
Here’s what you need to make a photo book:
-
Digital copies of your photos
-
Smartphone or computer with internet connection
-
Some free time to play around with templates and get creative
How to make a photobook – in brief:
-
Choose a photo book template. CANVASDISCOUNT offers a whopping 91 templates for photo books – there’s something for everyone!
-
Choose the product specs. You’ll need to select the print format, size, type of cover, and binding style.
-
Upload photos. Upload photos and lay them out on the pages of your photo book.
-
Customize further. Add additional design features to your photo book, such as text or clip art.
-
Check out. Complete your order and wait for delivery.
What Is a Photo Book?

Before we move on to our photo book how-to, let’s quickly discuss the basics. Just in case you’re wondering what is a photo book and how is it different from a photo album, here’s what you need to know.
A photo book is a modern update of a traditional photo album – a way to preserve your precious photo memories in book form. But modern photo books are usually customized online, with digital photos being printed onto the pages of the book.
Creating a fully customized photo book is now easier than ever, thanks to user-friendly online services like the one here at CANVASDISCOUNT. So just follow our simple instructions below to make your own custom photo book at home!
How to Make a Photo Book Step #1: Choose Template
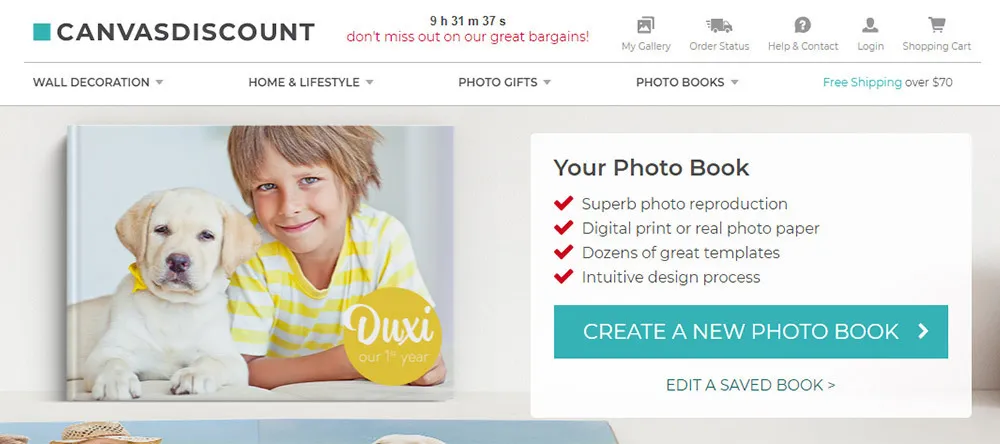
Go to our photo book product page and click on the “CREATE A NEW PHOTO BOOK” button. You’ll be offered the chance to log in (or create an account if you don’t have one), or you can proceed as a guest. We do recommend logging in/making an account because then you’ll be able to save your unfinished photo book and return to it whenever you have a free moment.
Once you proceed, you’ll be taken to our photo book templates page. Here you’ll see a huge range of design templates (91 in total!) to base your photo book on.
To make the choice easier, you can filter the templates by choosing one of the categories at the top of the page. We have five template categories: Contemporary, Holidays + Travel, Kids + Babies, Family + Friends, Wedding + Romance.
When you click on any of the templates, you’ll be shown a few pictures of how the final result might look. If you’re happy with what you see, click “Start design” to move on to the next step.

How to Make a Photo Book Step #2: Choose Book Specs
Now you need to choose some basic features of the book itself. There are different options you can choose in each of the following categories:
Print. We offer digital printing or printing on real photo paper.
Format. There are three orientations to choose from: portrait, landscape or square.
Size. Each format comes in a range of sizes.
Cover. Hardcover, softcover, ring-bound etc. Note that not all cover options are available for all templates.
Finish. If you’ve selected the print on photo paper, you’ll have the choice of a matte or gloss finish.
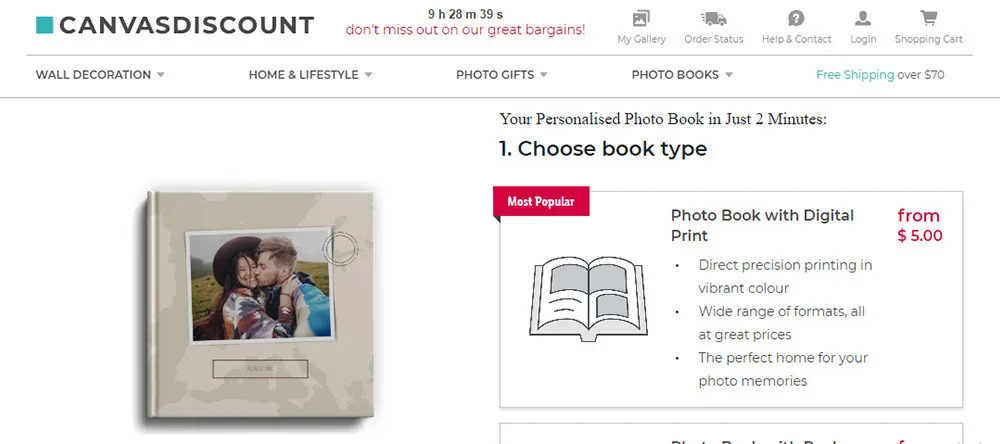
Once you’ve selected all the specs, you’ll see the total price of your photo book. (Note that this is the price for the standard page count – if you want to add more pages, you can do so later for a small extra cost.)
When you’re happy with your choices and the price, click “Design Photo Book Now”.
How to Make a Photo Book Step #3: Upload Photos
Now the most creative part of making a photo book begins! You’ll be taken to the product design interface.
There are quite a few buttons and sections here, so if this is your first experience with online photo books, it may feel a bit complicated. But once you get started, you’ll quickly grasp how it all works!
You’ll see a mock-up of your photo book with pages that you can “turn”. On each page there are photo fields where you can insert your own images.
When you upload a photo, it will appear to the left of the mock-up. You can then just drag it across to the page of your choice, dropping it in one of the fields provided.
Once you’ve uploaded all your photos and added them to your book, it’s time to add some other design features…
How to Make a Photo Book Step #4: Make Further Design Choices
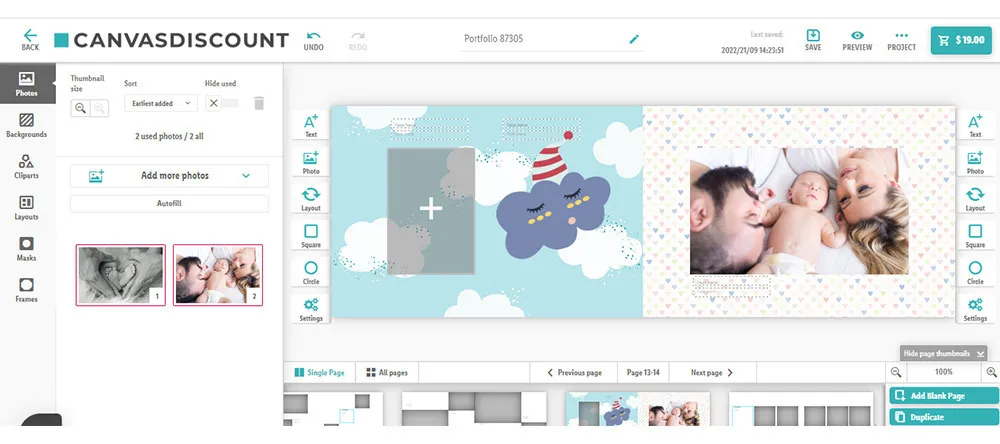
Our design interface lets you add a whole host of features to your photo book along with your photos.
From the menu on the left side of the screen, you can choose the following:
Backgrounds. A wide range of background patterns that you can use to replace the default ones.
Clip Art. Graphic-art images to decorate your photo book pages (organized by category, e.g. “Christmas”, “Mother’s Day”, “Love” etc).
Layouts. Various options for changing the layout of a page.
Masks. These conceal part of a photo or another area of the page. This feature can be handy if you plan to add some text over a photo.
Frames. Decorative borders for the photos.
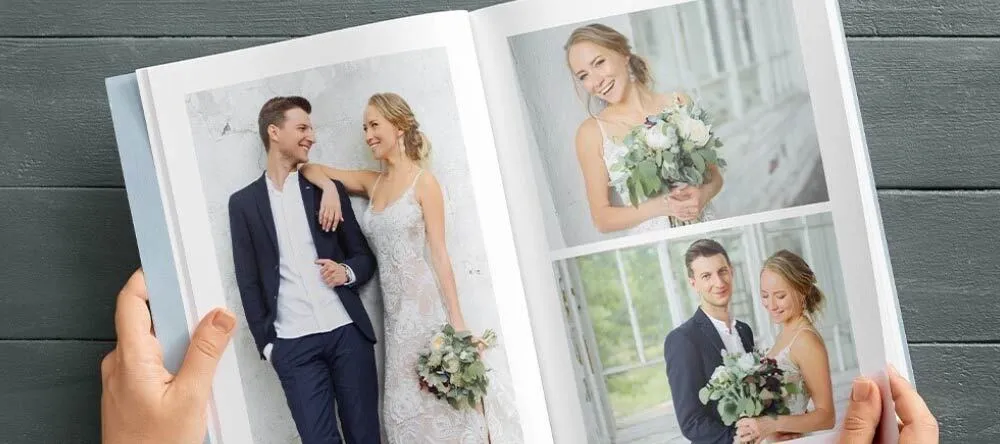
You’ll find more design options displayed around the mock-up of your book:
Text. Click to add a new text field.
Photo. Click to add a new photo field.
Layout. Lets you experiment with different layout options or shuffle the positions of your photos.
Square. Can be used to add a square all-purpose field.
Circle. Can be used to add a round all-purpose field.
You can also add more pages to your book. Click either “Add Blank Page” to add a new blank two-page spread, or “Duplicate” to duplicate the current spread. (Note that adding additional pages will incur a small extra cost. The price is always visible in the shopping cart button at top-right. )
Once you’ve finished making all your design choices, click on the shopping cart button to proceed to checkout.
How to Make a Photo Book Step #5: Complete Your Order
At checkout, you’ll see the price of the photo book and the shipping cost (Note: shipping is free if your photo book costs $70 or more). If you have a discount code, enter it in the field provided and click “Apply Coupon”. When you’re happy that everything looks right, click “Secure Checkout”.
Now enter your address and payment information and click "Buy Now” to finish your order. And that’s it – we’ll start work on your photo book immediately, and deliver it to your doorstep when it’s ready!
Our Photo Book Prices
 >
>
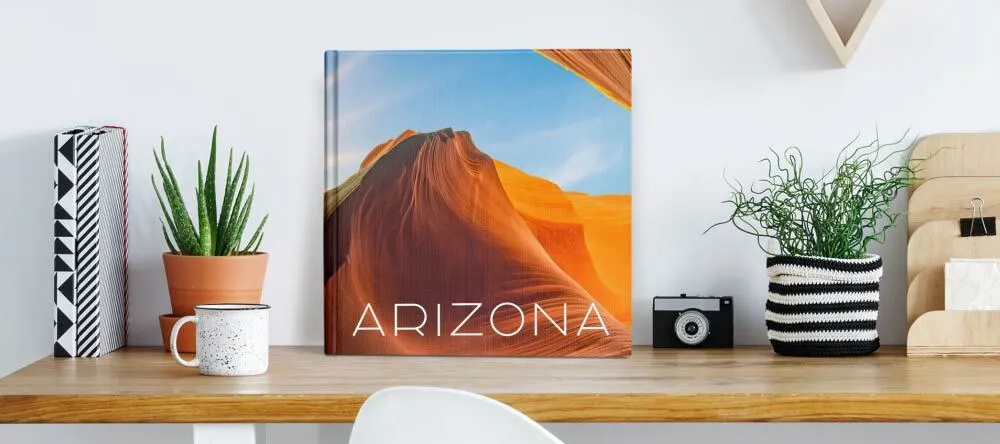
So, are you ready to make your first custom photo book? If cost is a factor (and when isn’t it…?), we recommend checking out our prices. Our photo book prices start at just $5, and go no higher than $49 (for a stunning 8” x 11” hardcover book with innovative “lay-flat” binding).
We’re sure that once you’ve created your first photo book, it won’t be your last – especially as photo books make such perfect gifts for your loved ones. Head to our photo book page now to get started!