You have thousands of photos trapped on your phone. Birthdays, vacations, everyday moments, all scrolling past and disappearing into the digital void, never printed, never held, never shared around a table. A photo book changes that. It takes the best of those memories and turns them into something physical, permanent, and genuinely treasured. But if you have never made one, the process can feel intimidating: How many photos? Which layout? What size? How do you not spend six hours fiddling with it? Learning how to make a photo book is far simpler than it looks. This first-time photo book maker's guide walks you through every step, from gathering photos to placing your order, so your first photo book comes out looking professionally designed without the professional-designer stress.
In a nutshell: To make a photo book, gather 40 to 100 of your best photos, choose a size and cover style, select a template, arrange your photos across the pages (or use auto-fill), add captions if desired, review every spread, and order. Most beginners finish in under an hour using an online photo book maker with templates. Start with a smaller book for your first attempt.

Key Takeaways
- Start with a clear theme. A focused photo book (one vacation, one year, one event) is easier to make and more compelling than a random mix. Pick a story before you pick photos.
- Curate ruthlessly. Choose 40 to 100 photos for your first book. More is not better. The best photo books tell a story with carefully chosen images, not every photo you took.
- Use templates and auto-fill. Beginners should start with a template and the auto-fill feature. It arranges your photos automatically, then you fine-tune. This saves hours.
- Less is more per page. One to three photos per page looks clean and lets each image breathe. Cramming six photos onto a page looks cluttered and cheap.
- Leave white space. Empty space around photos looks intentional and premium. Filling every inch looks busy. Let the layout breathe.
- Always review before ordering. Check every spread for typos, low-resolution warnings, and photos that cross the center gutter awkwardly. Five minutes of review prevents disappointment.
Photo Book Options to Get You Started
Here are the photo book and keepsake products perfect for first-time makers and gift-givers.
Step 1: Choose Your Theme and Story
The best photo books have a focus. Before you touch a single photo, decide what story your book tells. A week in Italy. Your child's first year. A wedding. A decade of family holidays. A focused theme makes every subsequent decision easier: which photos to include, how to order them, what captions to add. A book that tries to cover everything ends up feeling like a random photo dump. A book with a clear story feels like a keepsake.
For your first photo book, pick something contained and meaningful. A single trip or event with 40 to 80 photos is the perfect starter project. You will learn the tools without drowning in choices, and you will end up with something you actually want to display.
Step 2: Gather and Curate Your Photos
This is where most beginners go wrong: they include too many photos. The instinct is to use every good shot, but a photo book is not a camera roll. It is a curated story. Aim for 40 to 100 photos for your first book. Go through your collection and choose only the images that advance the story, show genuine emotion, or are simply beautiful. Cut the duplicates, the blurry ones, the near-identical shots where you kept five versions of the same moment.
A useful rule: for every ten photos you are tempted to include, cut three. The result is a tighter, more compelling book where every image earns its place. Curation is the single biggest factor separating an amateur photo book from a professional-looking one.

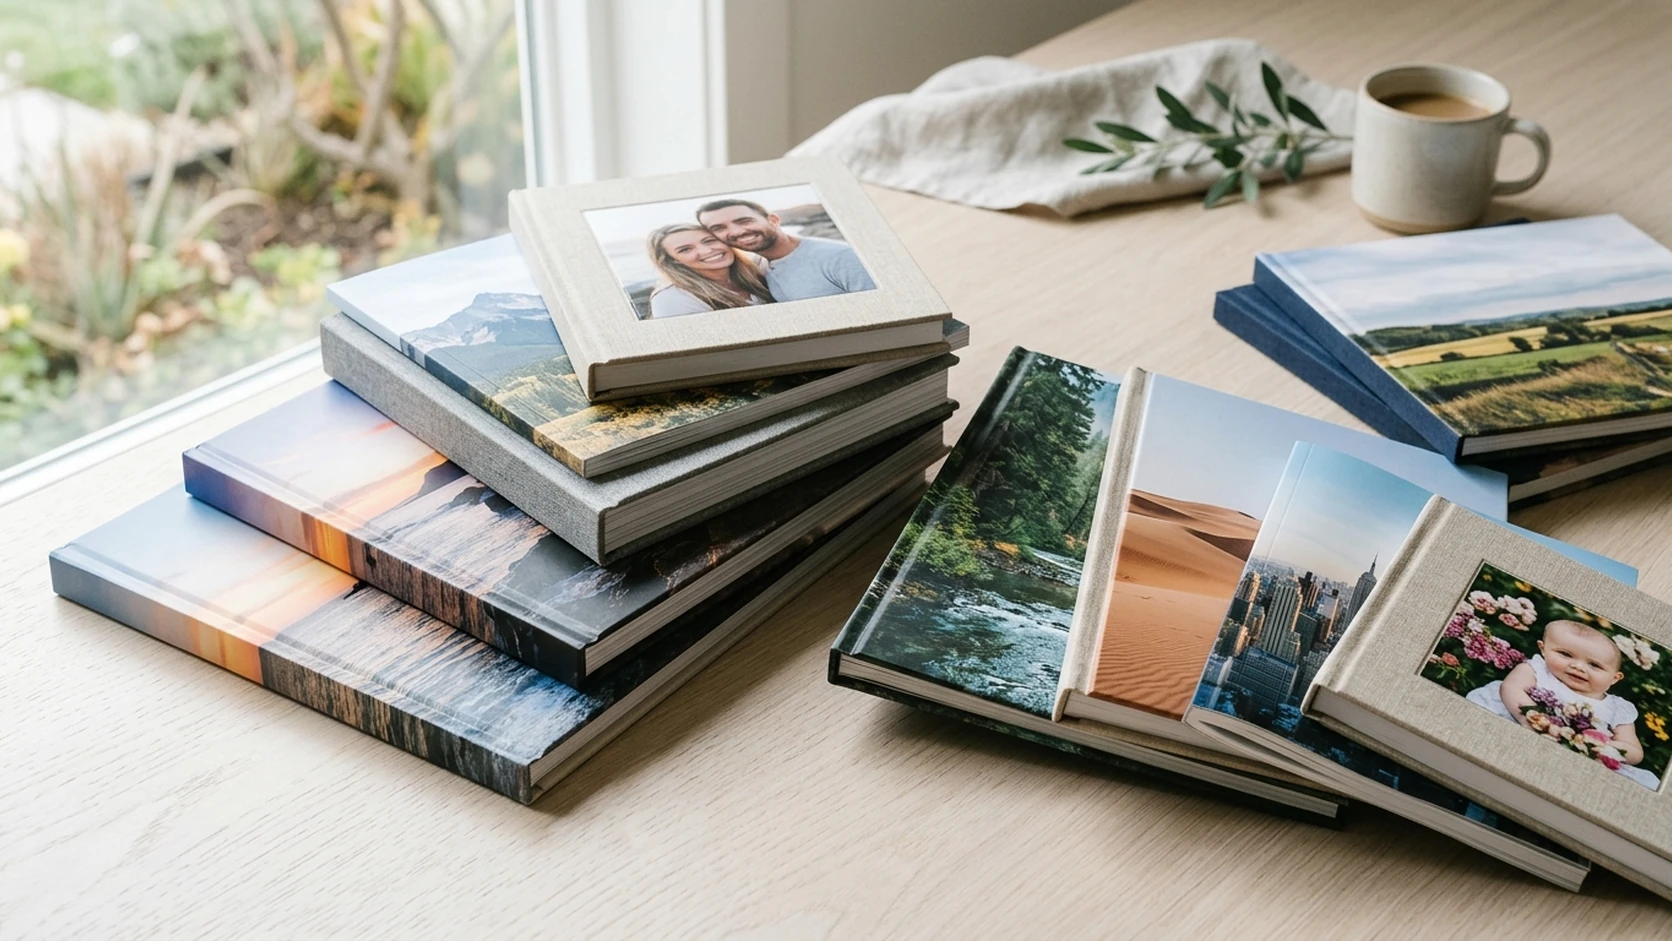
Photo books come in several formats, and the right choice depends on your photos and your budget.
- Format: Portrait suits vertical photos and traditional albums. Landscape suits horizontal photos and travel scenes. Square is versatile and modern, working well with a mix of orientations and social-media-style photos.
- Size: Larger books make photos more impactful but cost more. For a first book, a medium size balances impact and price. Save the large layflat books for special projects once you are comfortable with the process.
- Cover: Hardcover feels premium and protects the book, ideal for keepsakes and gifts. Softcover is lighter and more affordable, good for casual books. Layflat binding allows photos to span two pages without a gap in the middle, perfect for panoramas.
Step 4: Pick a Template
Templates are a beginner's best friend. Instead of designing every page from scratch, you start with a professionally designed layout and customize it. Most photo book makers offer template categories: contemporary, travel, family, wedding, and more. Choose one that matches your theme's mood. A travel book benefits from a clean, adventurous template; a baby's first year suits something soft and warm.
The template sets the design language for the entire book: fonts, spacing, background colors, and photo arrangements. You can adjust individual pages later, but starting from a cohesive template ensures your book looks designed rather than thrown together.
Step 5: Arrange Your Photos
Now the creative part. You have two approaches. The auto-fill (or smart design) option automatically places your photos across the pages in a sensible order, which you then fine-tune. This is the fastest route and the one recommended for beginners. The manual approach lets you drag each photo onto each page individually, giving you full control at the cost of time.
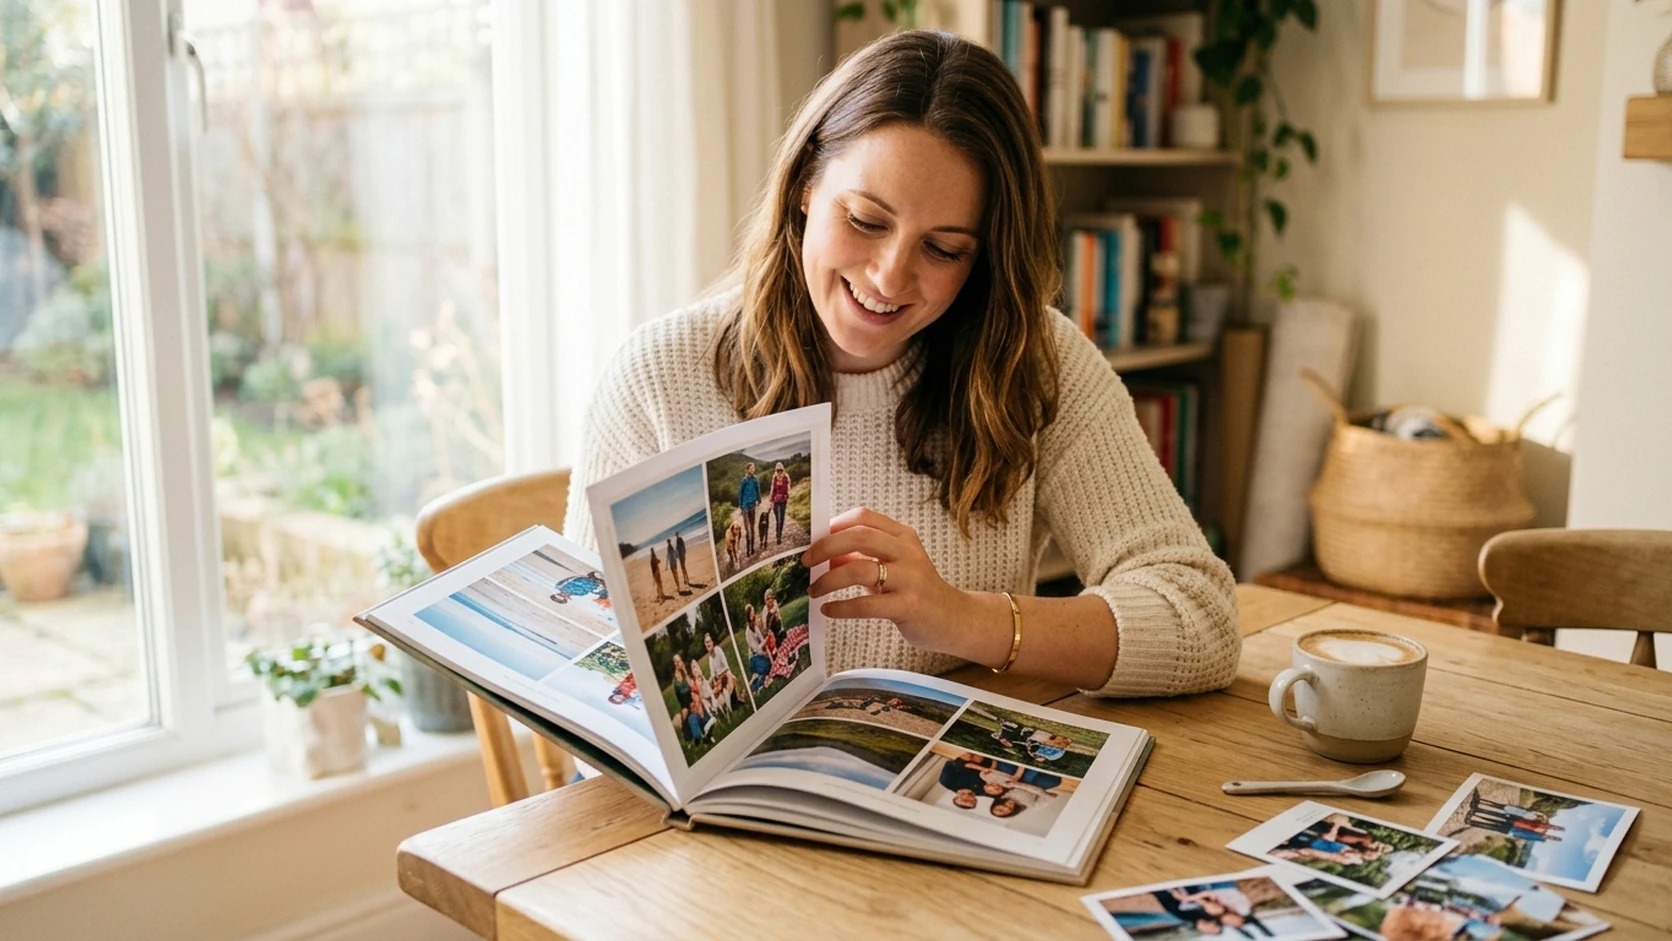
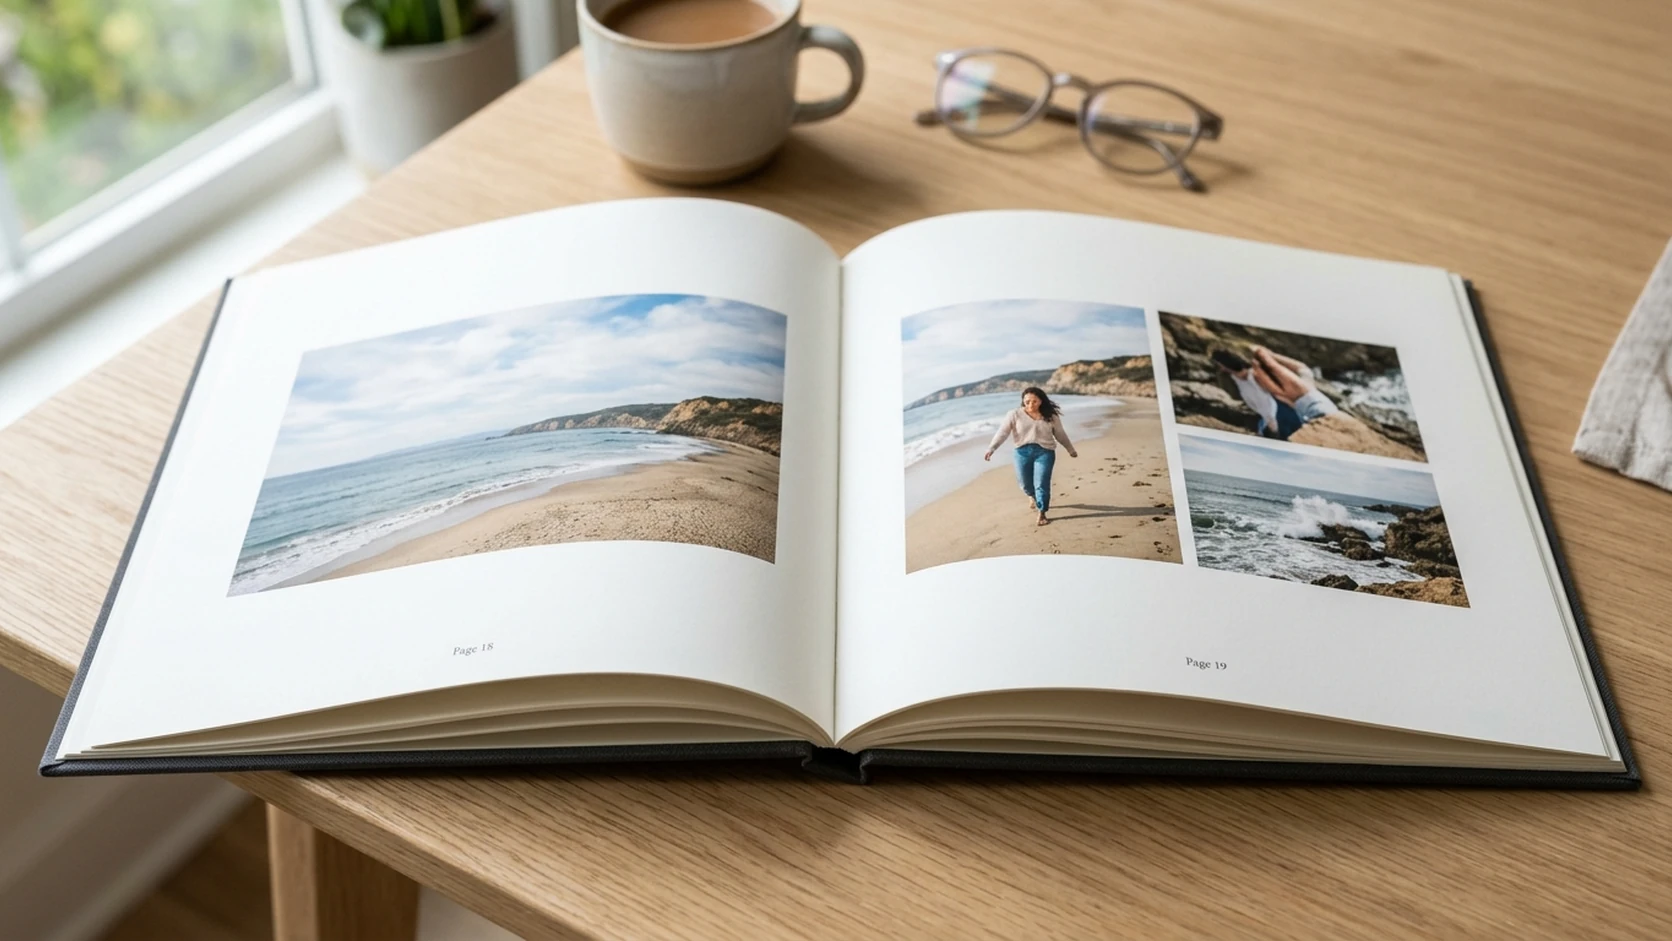
Layout principles for beginners: Use one to three photos per page. Let your best images fill a full page or spread. Group related photos together. Keep chronological or thematic order so the story flows. Avoid cramming: a page with two well-placed photos looks far better than one with six squeezed in.
Watch the center gutter (where the two pages meet). Do not place a face or critical detail right in the middle of a two-page spread, as it can be lost in the binding. Unless you have chosen layflat binding, keep important content away from the center fold.
Step 6: Add Text and Captions
Text transforms a photo book from a picture collection into a story. You do not need much. A date and location on a title page. A short caption under a key photo. A single meaningful quote at the start of a chapter. Captions give context that photos alone cannot, and they will mean even more years from now when the details have faded from memory.
Keep text minimal and consistent. Use the same font and style throughout (your template handles this automatically). Resist the urge to caption every photo. A few well-placed words carry more weight than a paragraph on every page.
Step 7: Review and Order
Before ordering, review every single spread. Check for typos in your captions. Look for any low-resolution warnings (the maker usually flags photos that are too small for their placement). Confirm no important content is lost in the center gutter. Make sure the photo order tells the story you intended. This review takes five to ten minutes and it is the difference between a book you love and one with a glaring error on page 12.
Once you are happy, place your order. Your photo book is printed and shipped to your door. When it arrives, the moment you hold your curated memories in a real, physical book makes every minute of the process worth it.
Photo Book Quick Reference for Beginners
| Decision | Beginner Recommendation | Why |
|---|
| Number of photos | 40 to 100 | Enough to tell a story, few enough to stay manageable |
| Theme | One trip, event, or year | Focused books are easier to make and more compelling |
| Format | Square or landscape | Versatile and forgiving for mixed photo orientations |
| Cover | Hardcover | Premium feel, protects the book, ideal for keepsakes |
| Template | Pre-designed, matched to theme | Saves hours and ensures a cohesive look |
| Photos per page | 1 to 3 | Clean, lets each image breathe, looks professional |
| Design method | Auto-fill, then fine-tune | Fastest route to a polished result for beginners |
| Text | Minimal captions and dates | Adds context without cluttering the design |
Beyond the Photo Book: Other Ways to Display Memories
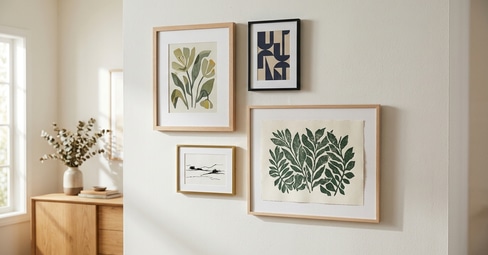
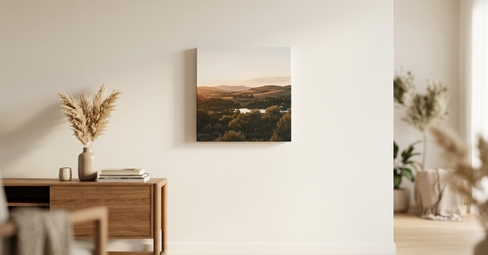
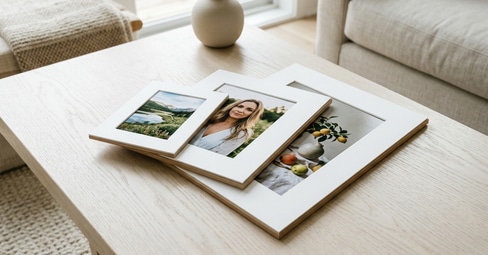
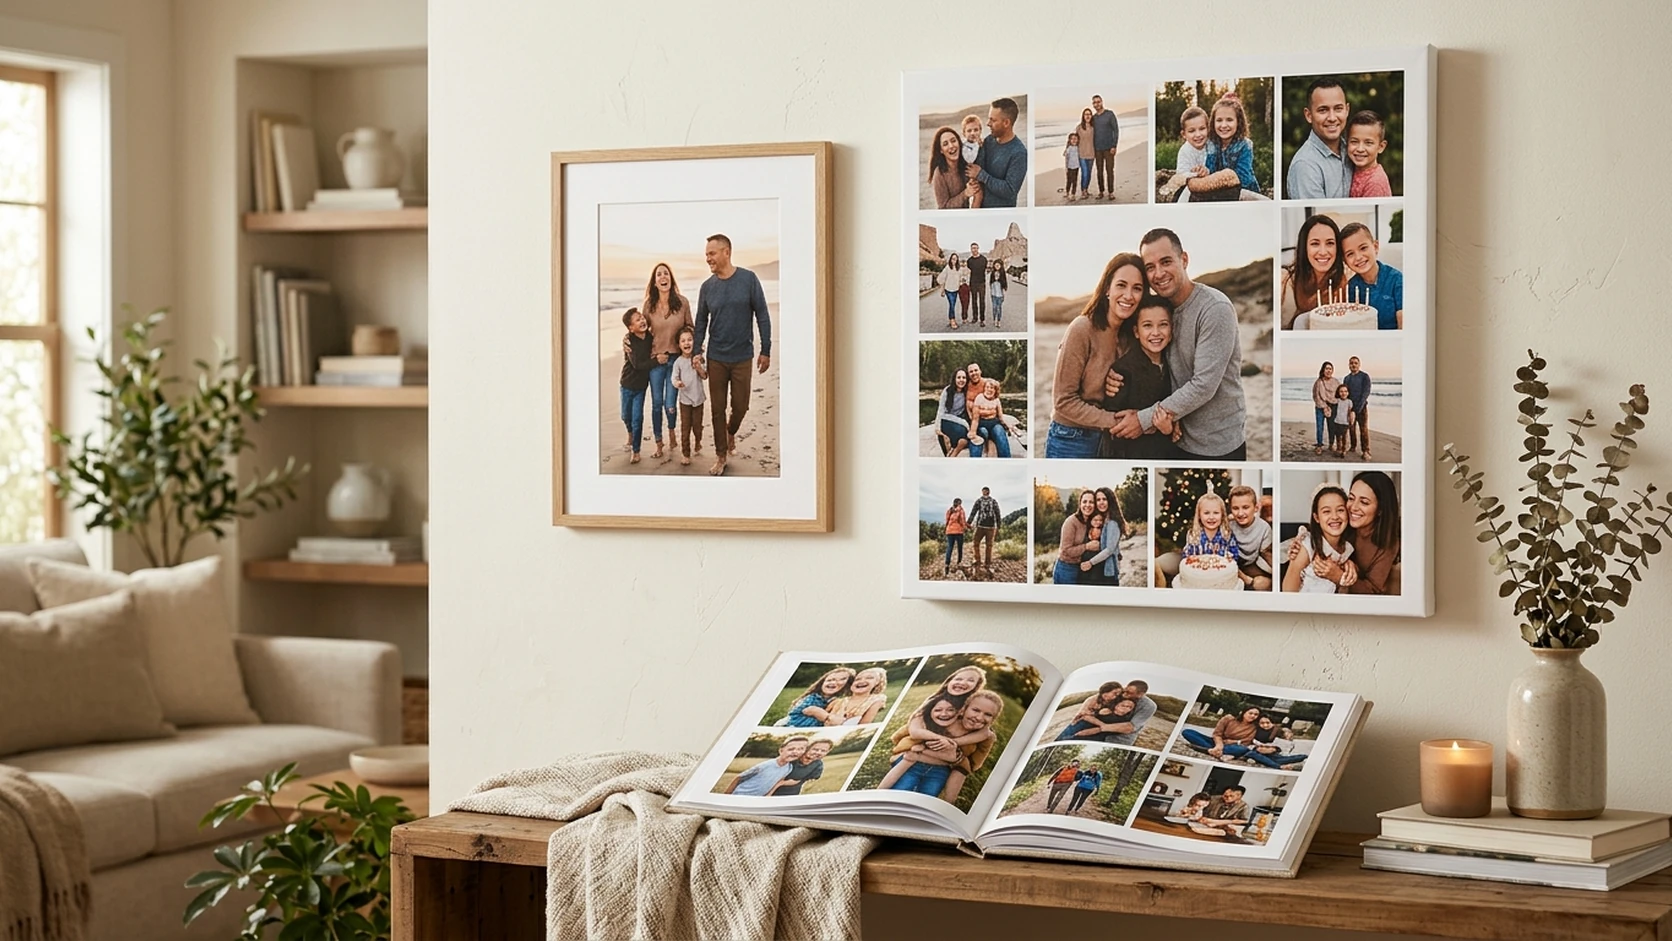
A photo book is a perfect way to preserve a story, but it is not the only option. If you want to display your favorite images on the wall rather than in a book, a collage canvas combines multiple photos into a single piece of wall art. For individual standout shots, a framed photo print gives a classic, elegant presentation. And if you want the fastest possible route, the QuickBook uses AI to arrange your photos into a book automatically, ideal for when you want a photo book without the design time.
For more on combining photos into wall art, see our guide on how to create a gallery wall. For turning a single favorite into a statement piece, read how to turn a photo into a canvas print.

Frequently Asked Questions
How do I make a photo book for the first time?
Gather 40 to 100 of your best photos around a theme, choose a size and cover, pick a template, use auto-fill to arrange the photos, add a few captions, review every spread, and order. Most beginners finish in under an hour using an online photo book maker.
How many photos should be in a photo book?
For a first photo book, aim for 40 to 100 photos. A focused, curated selection tells a better story than cramming in every image. One to three photos per page looks clean and professional.
What size photo book is best for beginners?
A medium square or landscape book is ideal for beginners. Square formats are versatile and handle mixed photo orientations well. Save large layflat books for special projects once you are comfortable with the process.
Is it hard to make a photo book?
No. Modern online photo book makers use templates and auto-fill features that arrange your photos automatically. A beginner can make a polished photo book in under an hour. The hardest part is curating which photos to include.
How much does a photo book cost?
Photo book prices vary by size, page count, cover type, and paper quality. Softcover books start lower, while hardcover and layflat books cost more. Check the current pricing and available discounts before ordering, as promotions are frequently available.
What makes a good photo book?
A clear theme, ruthless curation (40 to 100 photos), clean layouts with one to three photos per page, generous white space, minimal captions, and careful review before ordering. Curation and restraint matter more than including every photo.