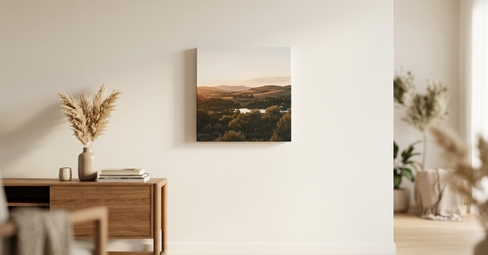
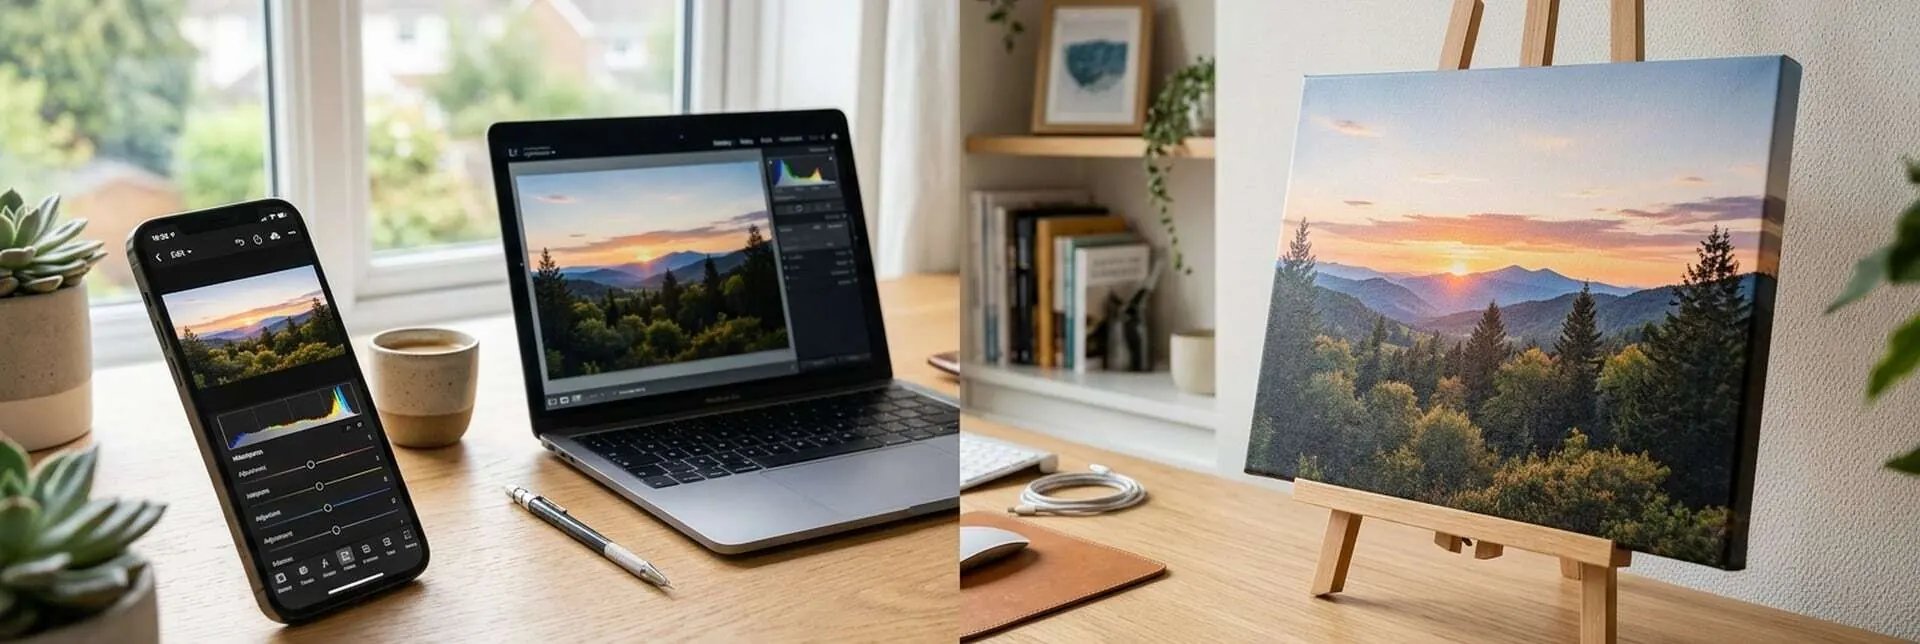
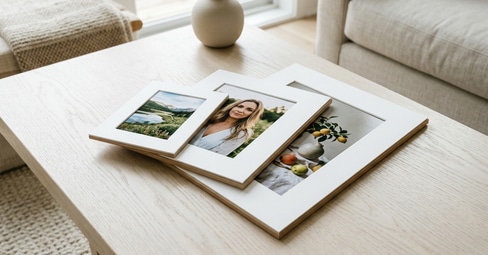
Acrylic prints are the closest thing to gallery art you can order from your couch. That glass-like depth, the way colors seem to glow from within the surface, the sleek frameless finish: it looks expensive and complicated, like something only a professional lab could produce. It is not. Learning how to print photos on acrylic takes about ten minutes, requires no special software, and the result rivals prints that cost several times more. The trick is knowing which photos work best on acrylic, how to prepare them, and what options to choose when ordering. This step-by-step guide walks you through the entire process of printing photos on acrylic, from selecting the right image to hanging the finished piece, so your first acrylic print looks like it came from an art studio.
In a nutshell: To print photos on acrylic, choose a high-resolution photo with vivid colors and strong contrast, make light edits to boost saturation, upload it to an acrylic print service, select your size and mounting option, and order. Acrylic prints work best with bold, colorful images like landscapes, close-ups, and vibrant scenes because the polished acrylic surface amplifies color and depth. The whole process takes about 10 minutes.
Key Takeaways
Acrylic amplifies color and contrast. The polished acrylic surface makes colors appear to glow and deepens contrast, so vivid photos with bold colors look spectacular. Muted or low-contrast photos benefit less.
Resolution matters even more than usual. Acrylic's clarity reveals every detail, including flaws. Use the highest-resolution original file you have, minimum 150 DPI at print size.
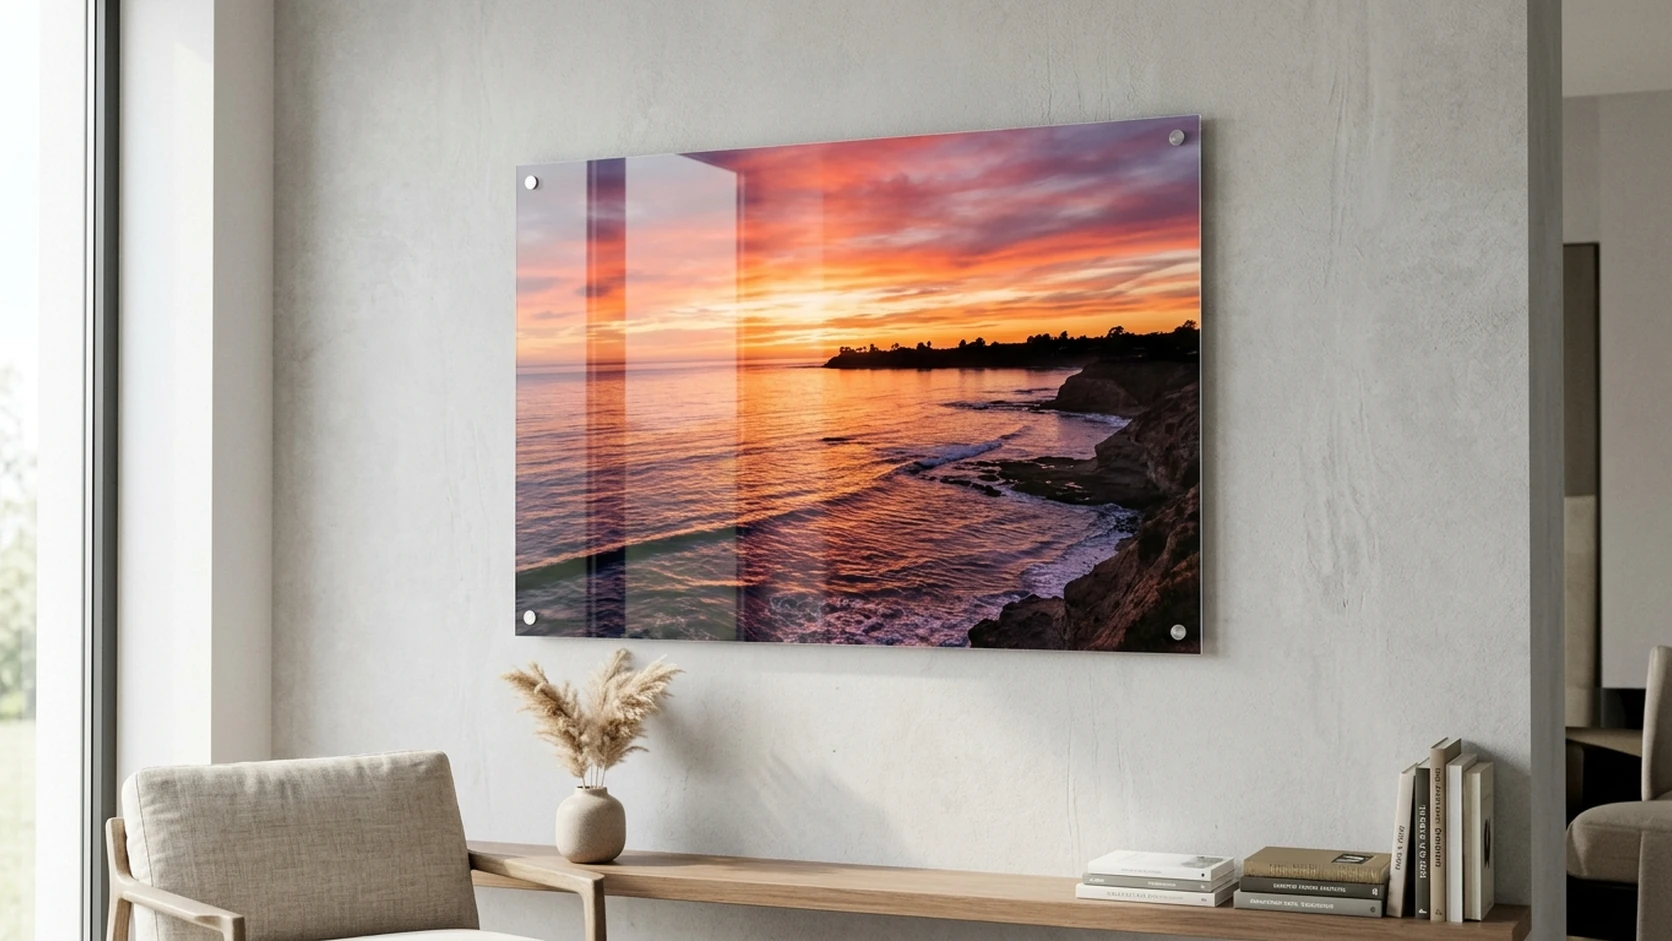
Best photos: landscapes, close-ups, vivid scenes. Ocean sunsets, colorful cityscapes, macro flowers, and any image with saturated colors and strong light shine on acrylic.
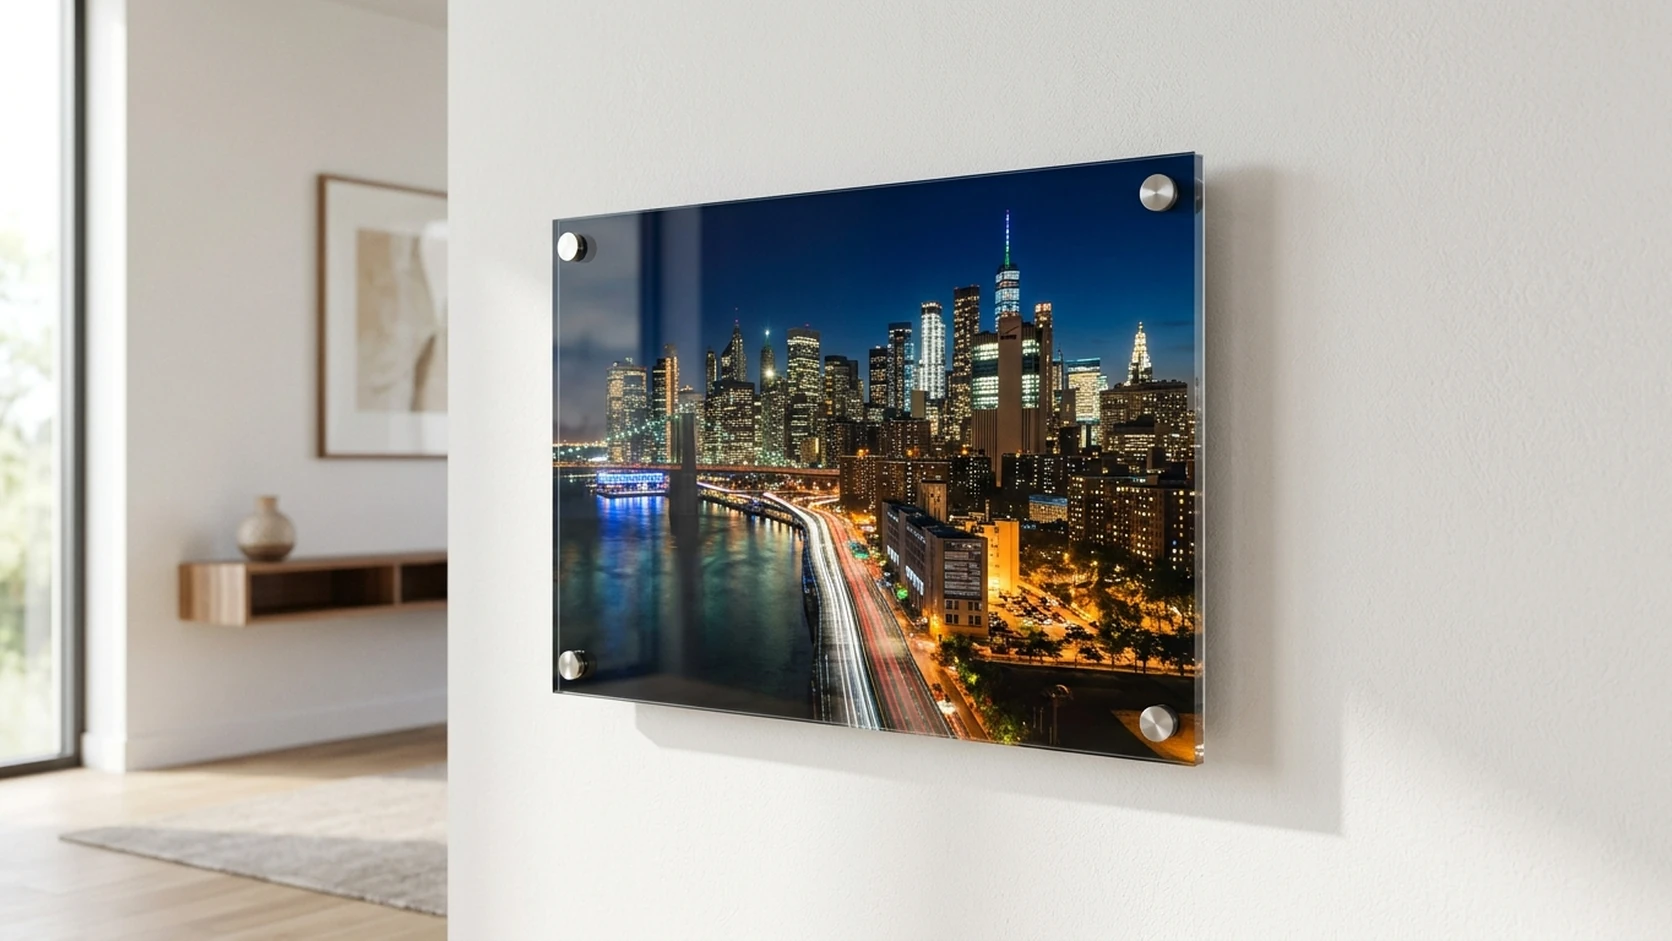
Mounting options change the look. Float mounts create a modern shadow-gap effect. Standoff mounts hold the acrylic off the wall with metal hardware. Both suit contemporary spaces.
Placement matters for glare. The glossy surface can catch light. Avoid hanging directly opposite a window or strong light source to minimize reflections.
Slightly reduce saturation edits. Because acrylic already boosts color, apply a smaller saturation increase (5 to 10 percent) than you would for canvas (10 to 15 percent).
Best Acrylic Print Products for Your Photos
Here are the acrylic and premium wall art products that showcase vivid photos beautifully.
Step 1: Choose the Right Photo for Acrylic
Acrylic is not the right surface for every photo, and choosing well is the difference between a stunning print and a disappointing one. Because the polished acrylic surface amplifies color, contrast, and depth, photos with bold, saturated colors and strong lighting produce the most dramatic results. Think ocean sunsets, autumn landscapes, neon cityscapes, close-up flowers, and any image where color is the star.
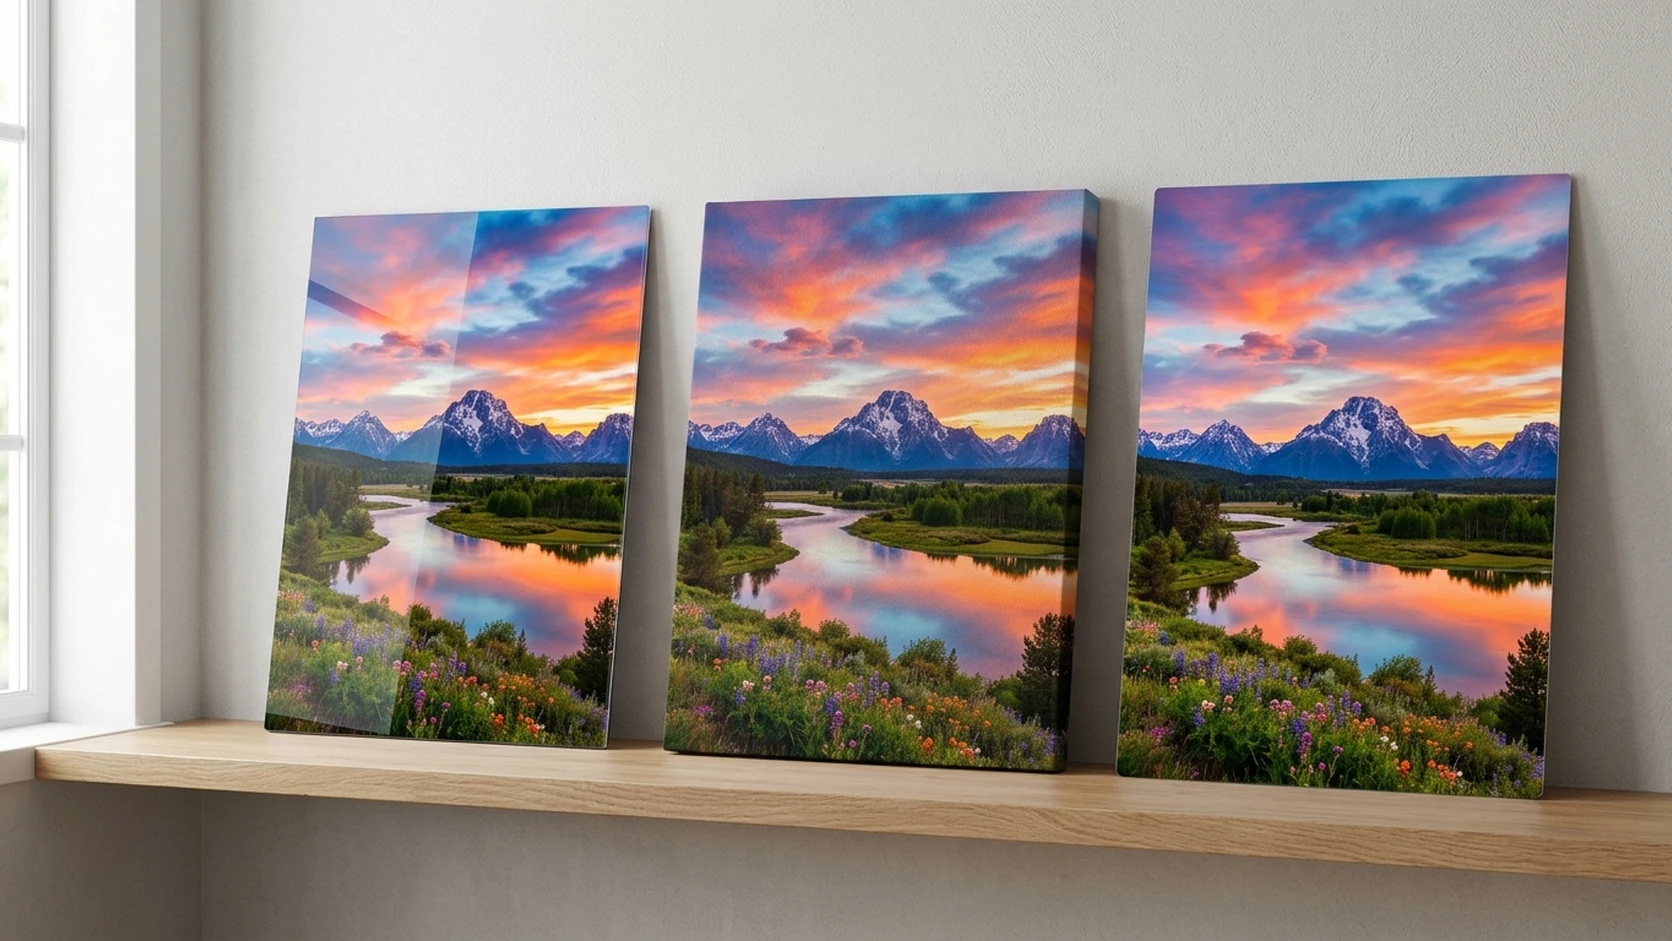
Photos that work less well on acrylic are muted, low-contrast, or predominantly neutral-toned images. A soft, hazy portrait in pastel tones will not benefit from acrylic's amplification the way a vivid landscape will. For those softer images, a canvas print with its warm, matte texture is often a better match. If your photo has punchy colors and you want maximum visual impact, acrylic is the surface for you.
Step 2: Check Your Photo Resolution
Acrylic's crystal clarity is a double-edged sword: it reveals every bit of detail, including flaws that a textured surface like canvas would hide. This makes resolution more important for acrylic than for any other print medium. Use the minimum standard of 150 DPI at print size, though 200 DPI or higher produces noticeably crisper results on acrylic.
Always use the original file from your camera roll. Screenshots, social media downloads, and texted photos are compressed and will show artifacts and softness that acrylic ruthlessly magnifies. A modern smartphone photo from the last three to four years has enough resolution for acrylic prints up to 20x30 inches. For larger sizes, use a photo from a recent flagship phone or a DSLR. For a full breakdown of resolution by size, see our photo print sizes guide.
Step 3: Edit Your Photo for Acrylic
Acrylic prints need lighter editing than other surfaces because the material itself boosts color and contrast. Over-editing before printing on acrylic produces an unnatural, oversaturated result. Here is what to adjust:
Brightness: Increase by 5 to 10 percent. Acrylic reflects light better than matte surfaces, so it needs less brightness compensation than canvas.
Saturation: Increase by only 5 to 10 percent, or skip it entirely if the photo is already vivid. Acrylic amplifies saturation, so a light touch prevents colors from looking cartoonish.
Contrast: Leave it alone or reduce slightly. Acrylic naturally increases contrast, so photos with already-strong contrast may need a small reduction to preserve shadow detail.
White balance: Correct any color casts as usual. Acrylic reproduces color accurately, so any cast in the original will be clearly visible.
Step 4: Upload and Choose Your Size
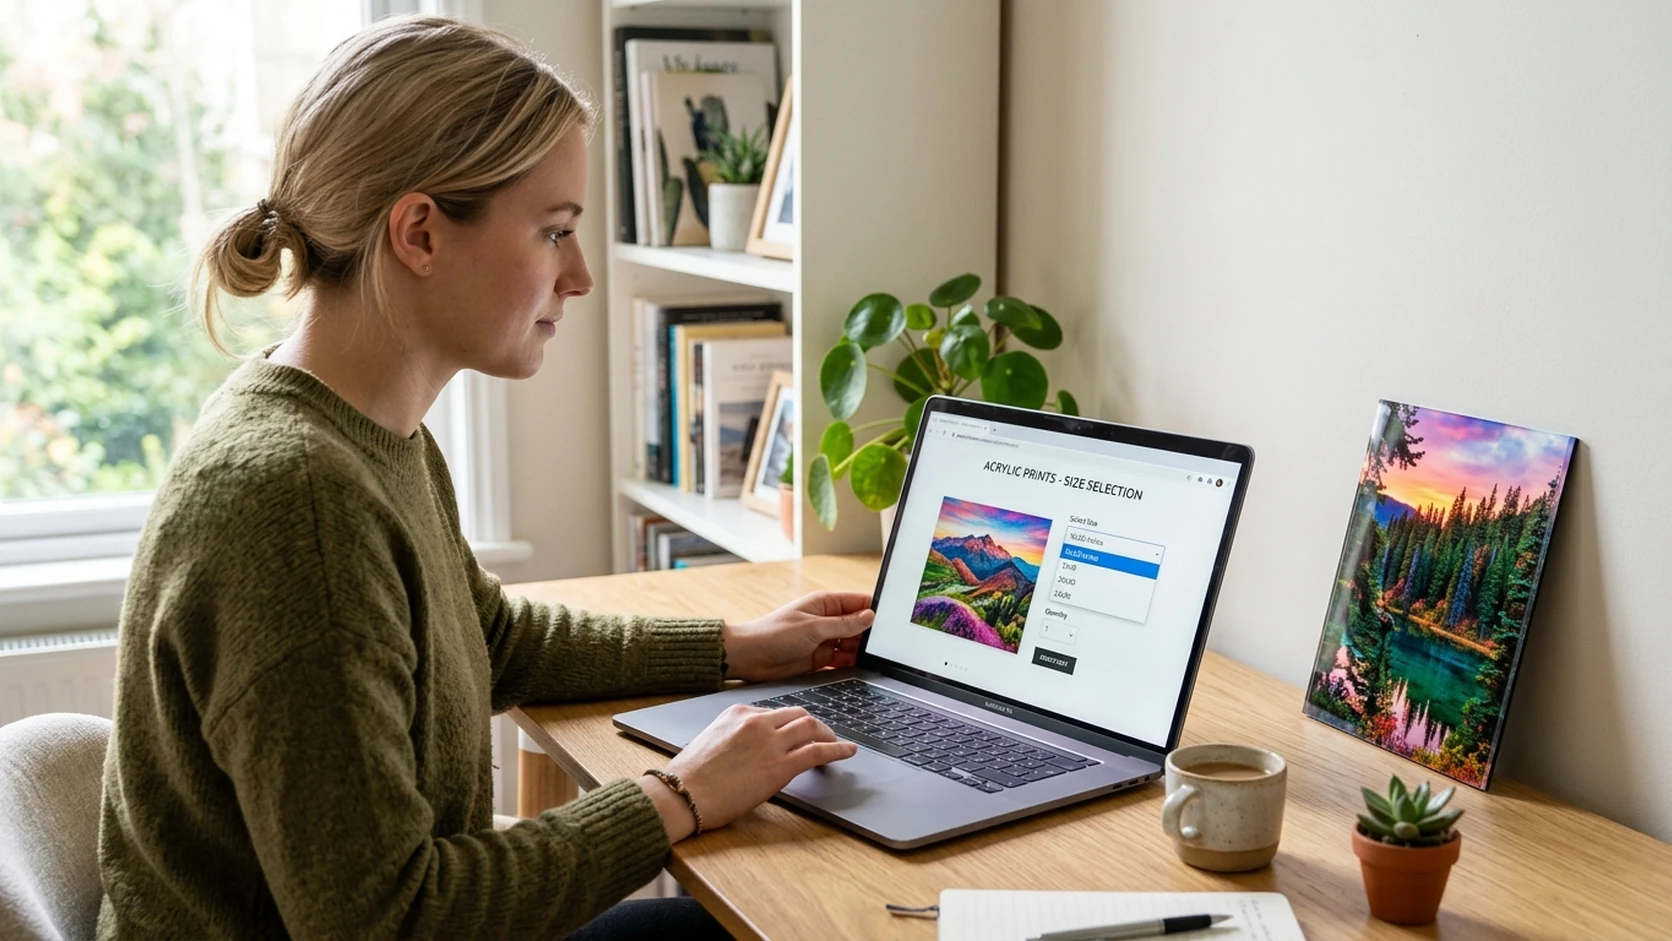
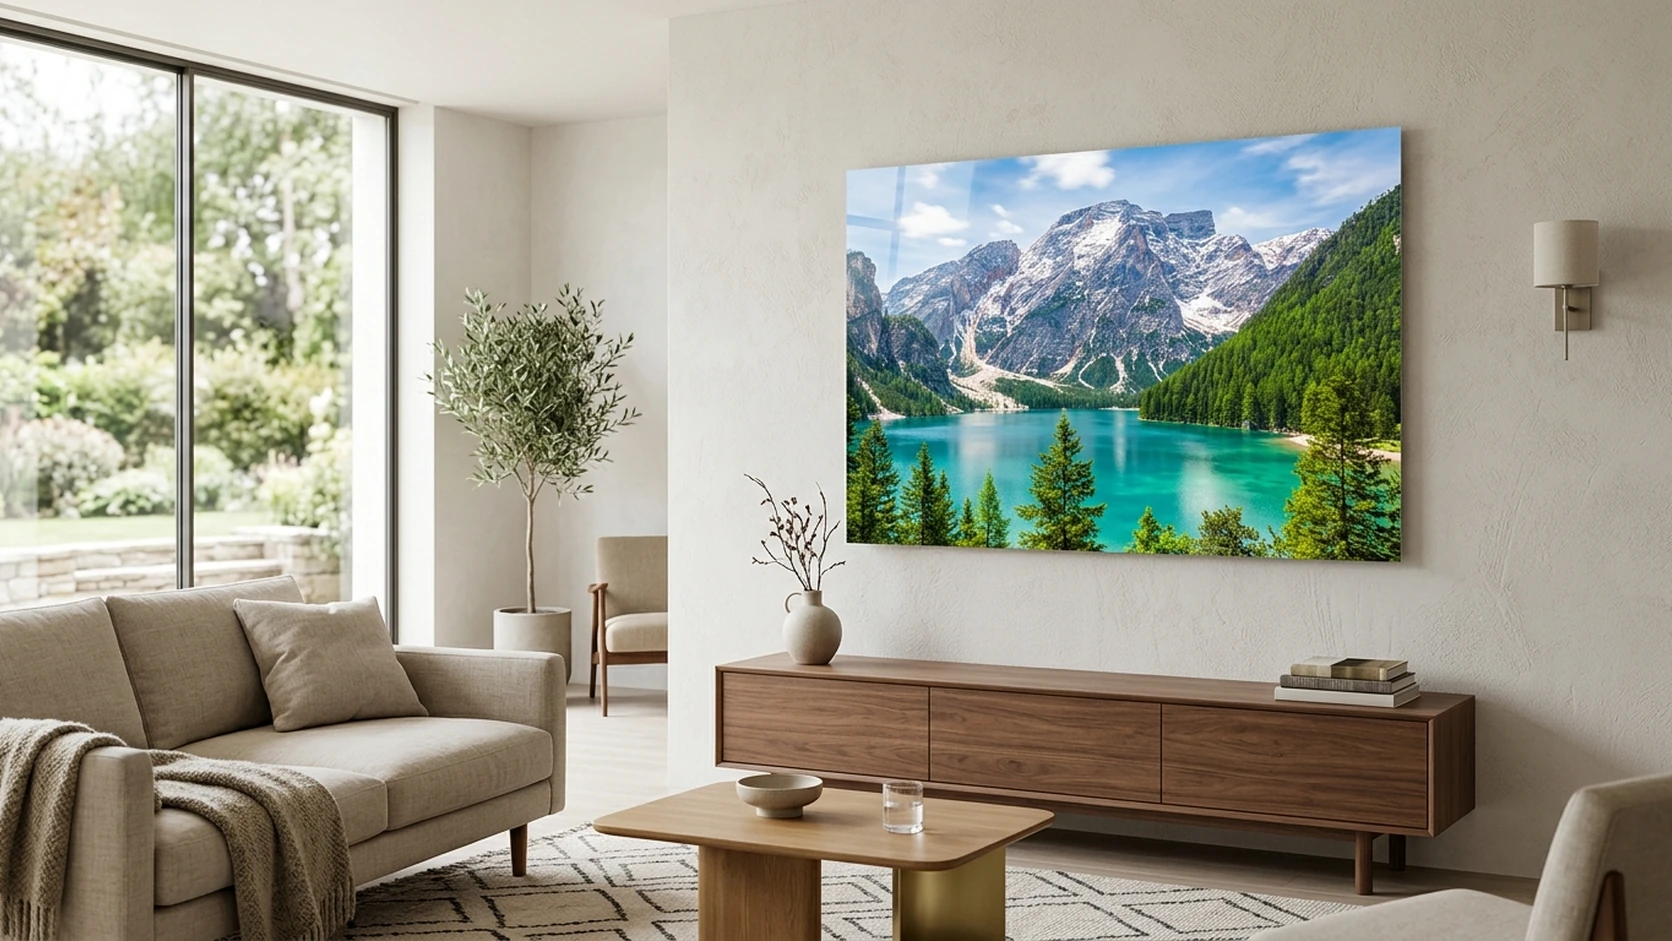
Visit the acrylic photo prints page, select your size, and upload your edited photo. The online design tool shows a real-time preview of your image on acrylic. Choose a size that fits your wall: for a feature piece above a sofa, 20x30 or larger; for a bedroom or office, 16x20; for a desk or shelf display, smaller sizes work well. Acrylic prints have a substantial presence, so they command attention even at medium sizes.
Step 5: Select Mounting and Finish Options
Acrylic prints offer several mounting styles that change the final look:
Float mount: A hidden frame behind the acrylic holds it slightly off the wall, creating a subtle shadow gap that makes the print appear to float. Modern and clean.
Standoff mount: Polished metal hardware holds the acrylic off the wall at each corner. Industrial and contemporary, with a gallery-installation feel.
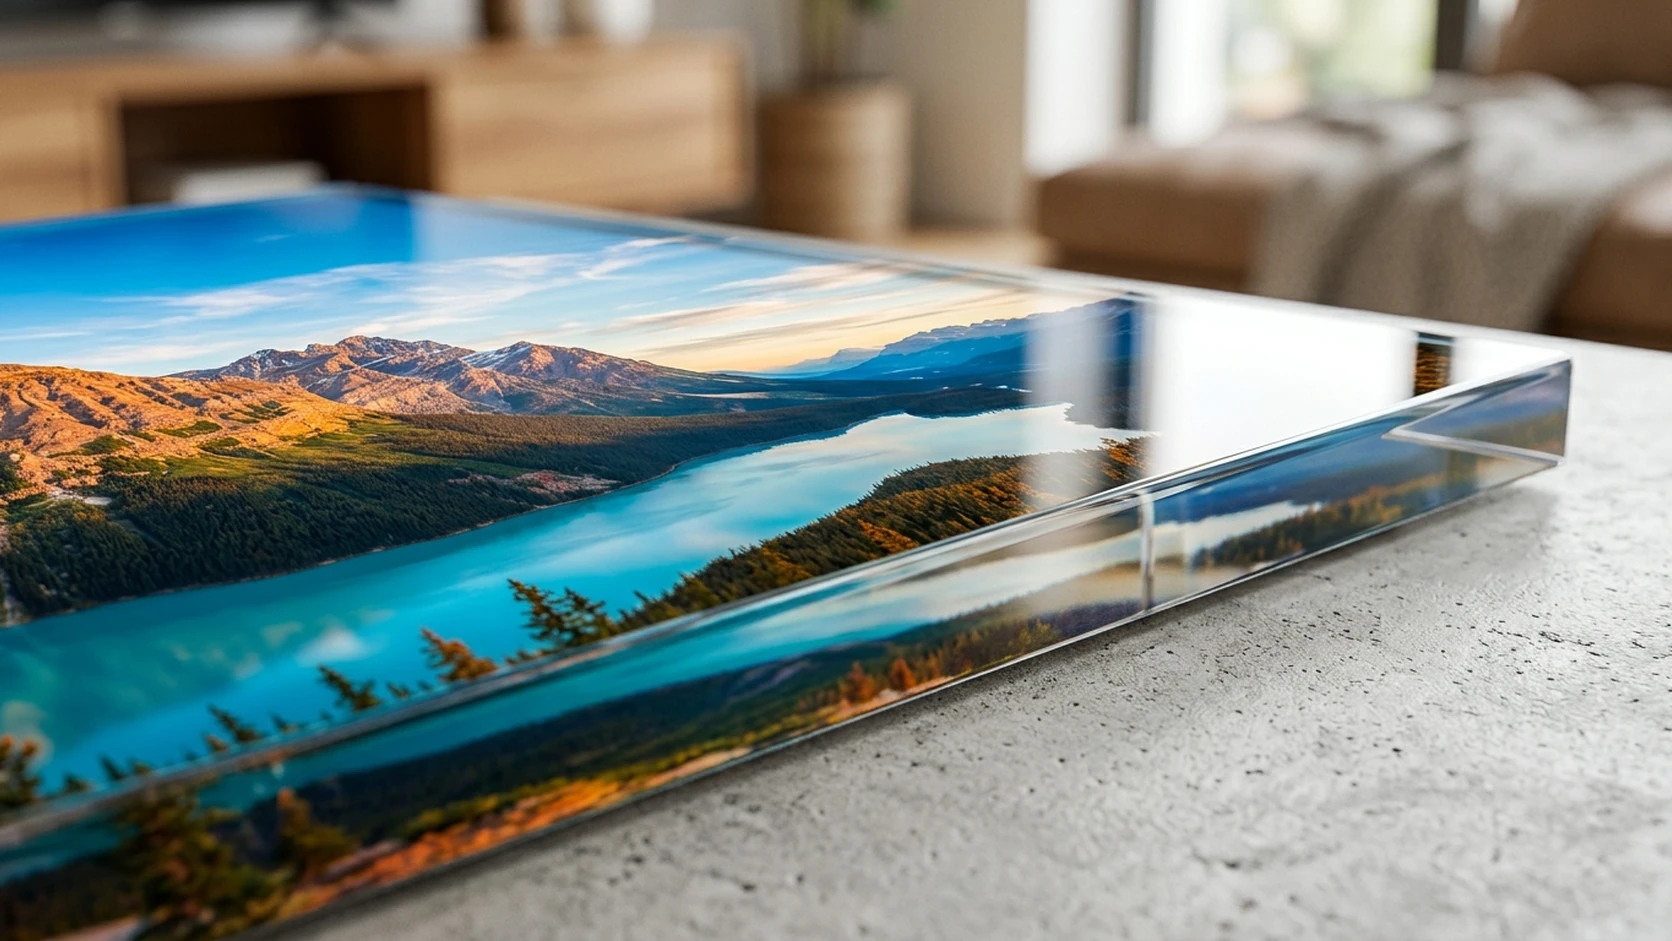
Thickness: Standard acrylic is around 3mm; premium options go thicker for more depth and a more substantial feel. Thicker acrylic enhances the glass-like depth effect.
Step 6: Order, Receive, and Hang
Place your order and your acrylic print is produced and shipped with mounting hardware included. When it arrives, hang it away from direct light sources to minimize glare. The glossy surface is stunning but reflective, so position it where light does not hit it directly from the front. Clean it with a soft, slightly damp cloth and a dedicated acrylic cleaner, never abrasive materials that could scratch the surface.
Acrylic vs Other Print Surfaces
Understanding how acrylic compares to other surfaces helps you decide whether it is the right choice for your photo.
Surface
Best For
Color Effect
Look
Acrylic
Vivid landscapes, close-ups, bold colors
Ultra-vivid, glowing depth
Gallery, luxurious, modern
Canvas
Portraits, family photos, warm scenes
Warm, softened
Classic, painterly
Metal
Cityscapes, black and white, architecture
Sharp, vivid
Industrial, sleek
Framed print
Traditional displays, any photo
Accurate, natural
Timeless, elegant
For a complete comparison of these materials, see our canvas vs metal vs acrylic guide. If you decide acrylic is right for your photo, the how-to-print-photos-on-acrylic process above gets you a gallery-quality result on the first try.
Common Acrylic Printing Mistakes to Avoid
Using a low-resolution photo. Acrylic magnifies every flaw. A blurry or pixelated source will look worse on acrylic than on any other surface.
Over-saturating before printing. Acrylic already boosts color. Heavy saturation edits produce unnatural, neon results.
Hanging opposite a window. The glossy surface reflects light. Placement opposite a strong light source creates distracting glare.
Choosing a muted photo. Soft, low-contrast images do not benefit from acrylic's amplification. Save acrylic for your most vivid shots.
Skipping the preview. Always check the on-screen preview to confirm cropping and color before ordering.
Frequently Asked Questions
How do you print photos on acrylic?
Choose a high-resolution photo with vivid colors, make light edits to boost brightness and saturation by 5 to 10 percent, upload it to an acrylic print service, select your size and mounting option, and order. The finished acrylic print ships with mounting hardware ready to hang.
What photos look best on acrylic prints?
Photos with bold, saturated colors and strong contrast look best on acrylic. Ocean sunsets, colorful landscapes, neon cityscapes, close-up flowers, and vivid abstract images all benefit from acrylic's color-amplifying, glass-like surface.
What resolution do I need for an acrylic print?
Minimum 150 DPI at print size, though 200 DPI or higher is ideal. Acrylic's clarity reveals detail and flaws, so resolution matters more than with textured surfaces. Most smartphone photos from the last 3 to 4 years work well up to 20x30 inches.
Do acrylic prints scratch easily?
Quality acrylic prints are scratch-resistant and durable. Clean them with a soft, slightly damp cloth and a dedicated acrylic cleaner. Avoid abrasive materials or paper towels, which can cause fine scratches over time.
How do I reduce glare on an acrylic print?
Hang the acrylic print away from direct light sources. Avoid positioning it directly opposite a window or strong lamp. Angling the placement or choosing a wall with softer, indirect light minimizes reflections on the glossy surface.
Is acrylic better than canvas for photos?
It depends on the photo. Acrylic is better for vivid, colorful, high-contrast images where you want maximum impact and a modern look. Canvas is better for portraits, family photos, and warm scenes where you want a soft, painterly feel. Neither is universally better.
The offer has expired. You will be redirected to a new deal in 5 sec
Our 110% Lowest Price Guarantee
We’re committed to providing the ultimate customer experience – and we know that means offering the best prices in the market. If you happen to find a lower price online, we’ll beat it by 10%! The product should be the same size and the price valid on the day you send it to us. Canvas prints should come already stretched onto the frame.
Simply email us with a link to the competing product. We’ll review the information and if everything checks out we'll send you a 10% discount voucher code.